
Answers to some common questions and provides solutions.
What’s the difference between Handheld, Pocket, and Plug-in Series?
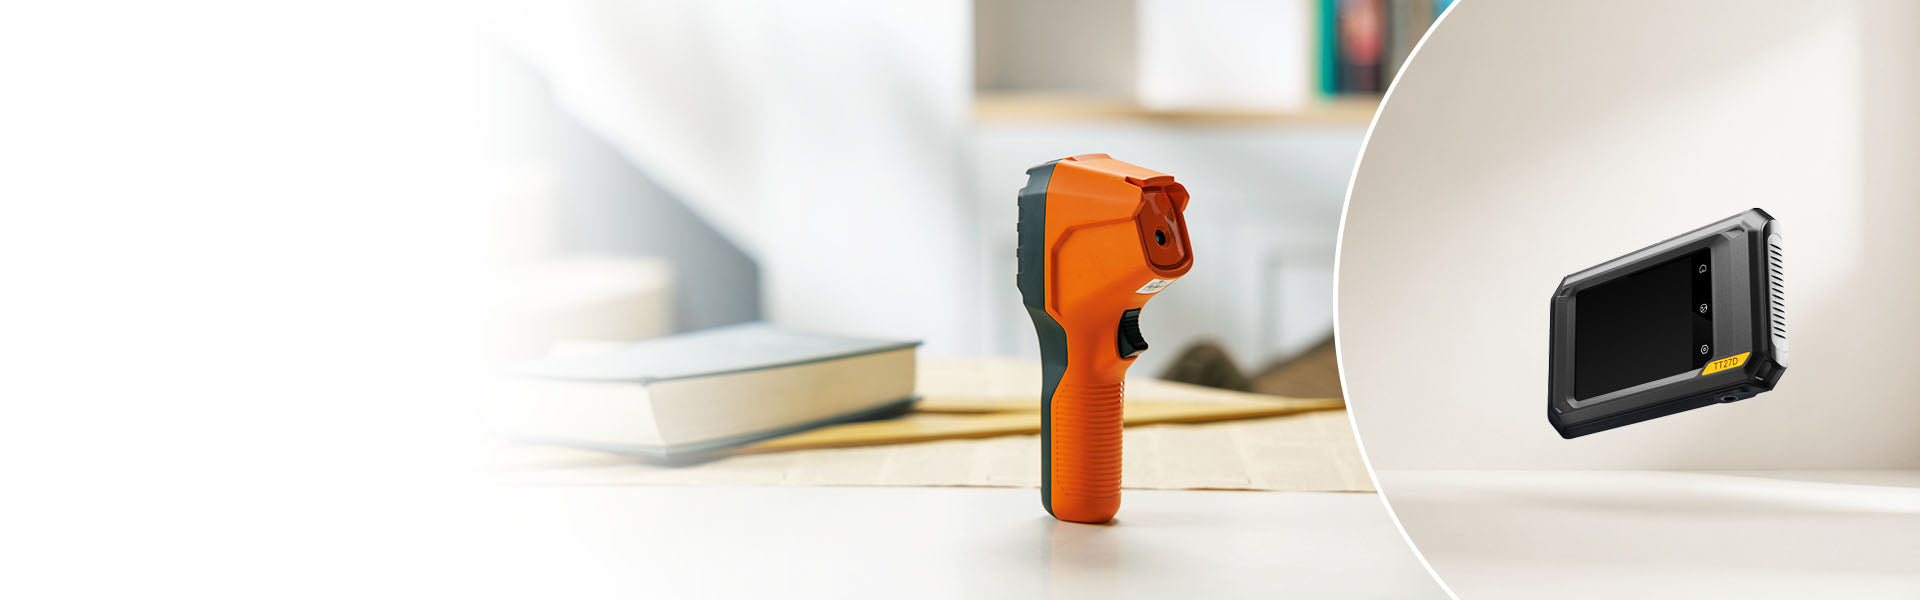
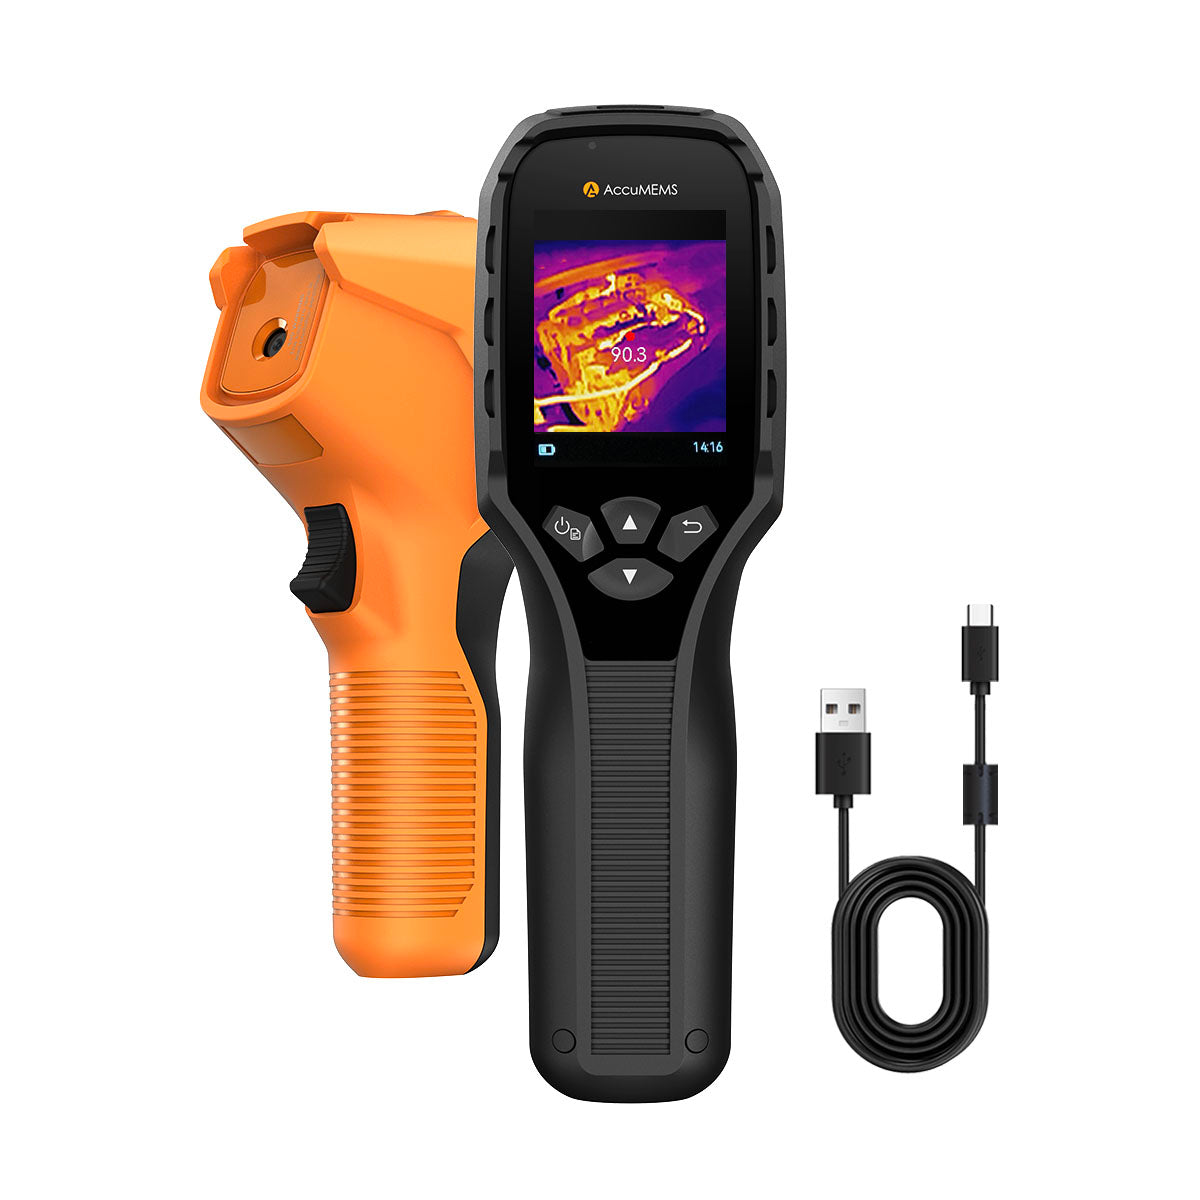
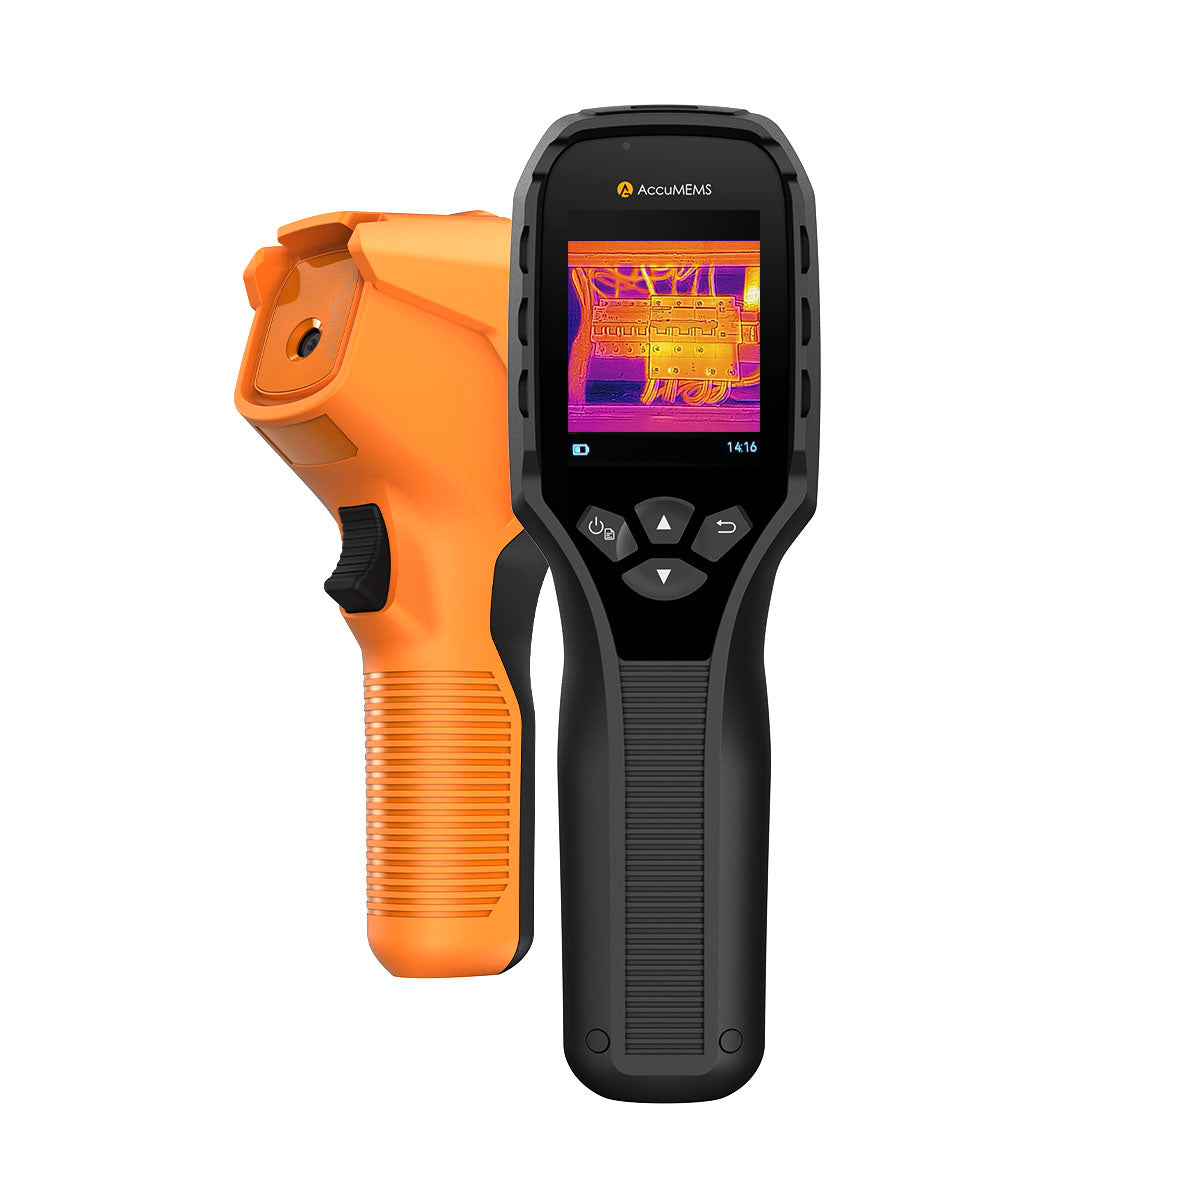
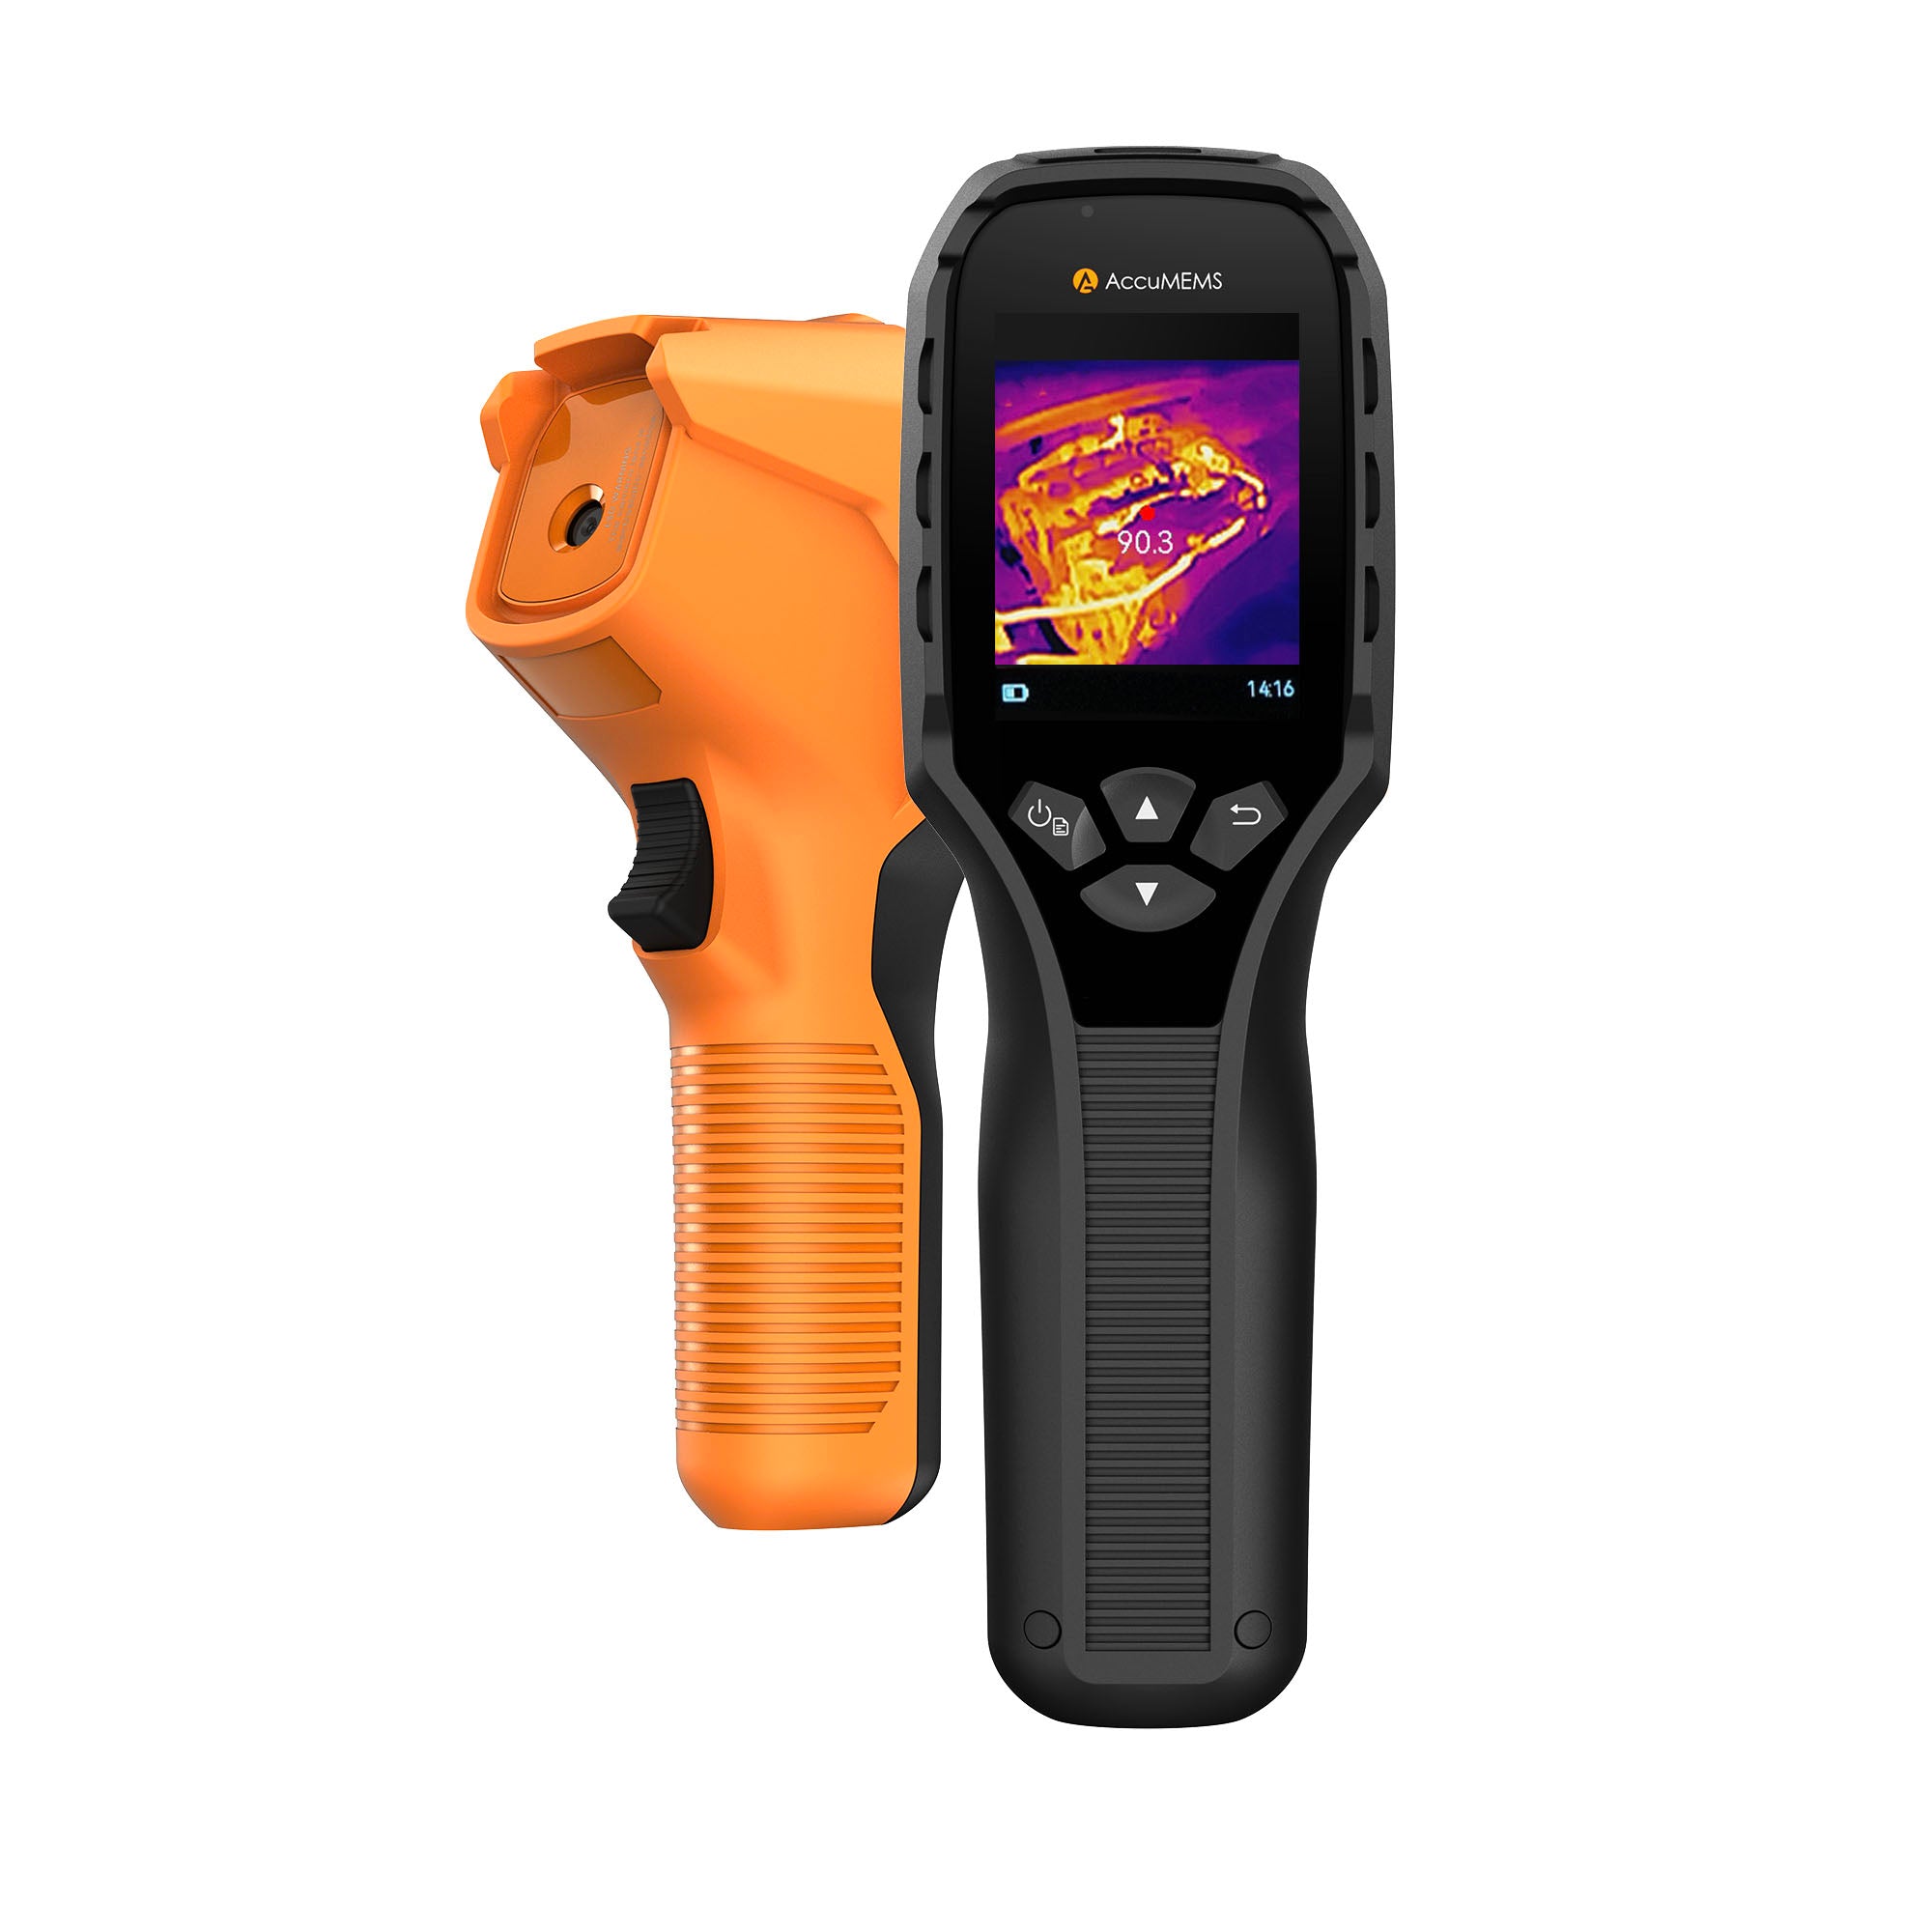
The main difference between our Handheld, Pocket, and Plug-in Series is the product design and usage experience. All of them use infrared thermal sensors, but they are integrated into different form factors to meet different application needs.
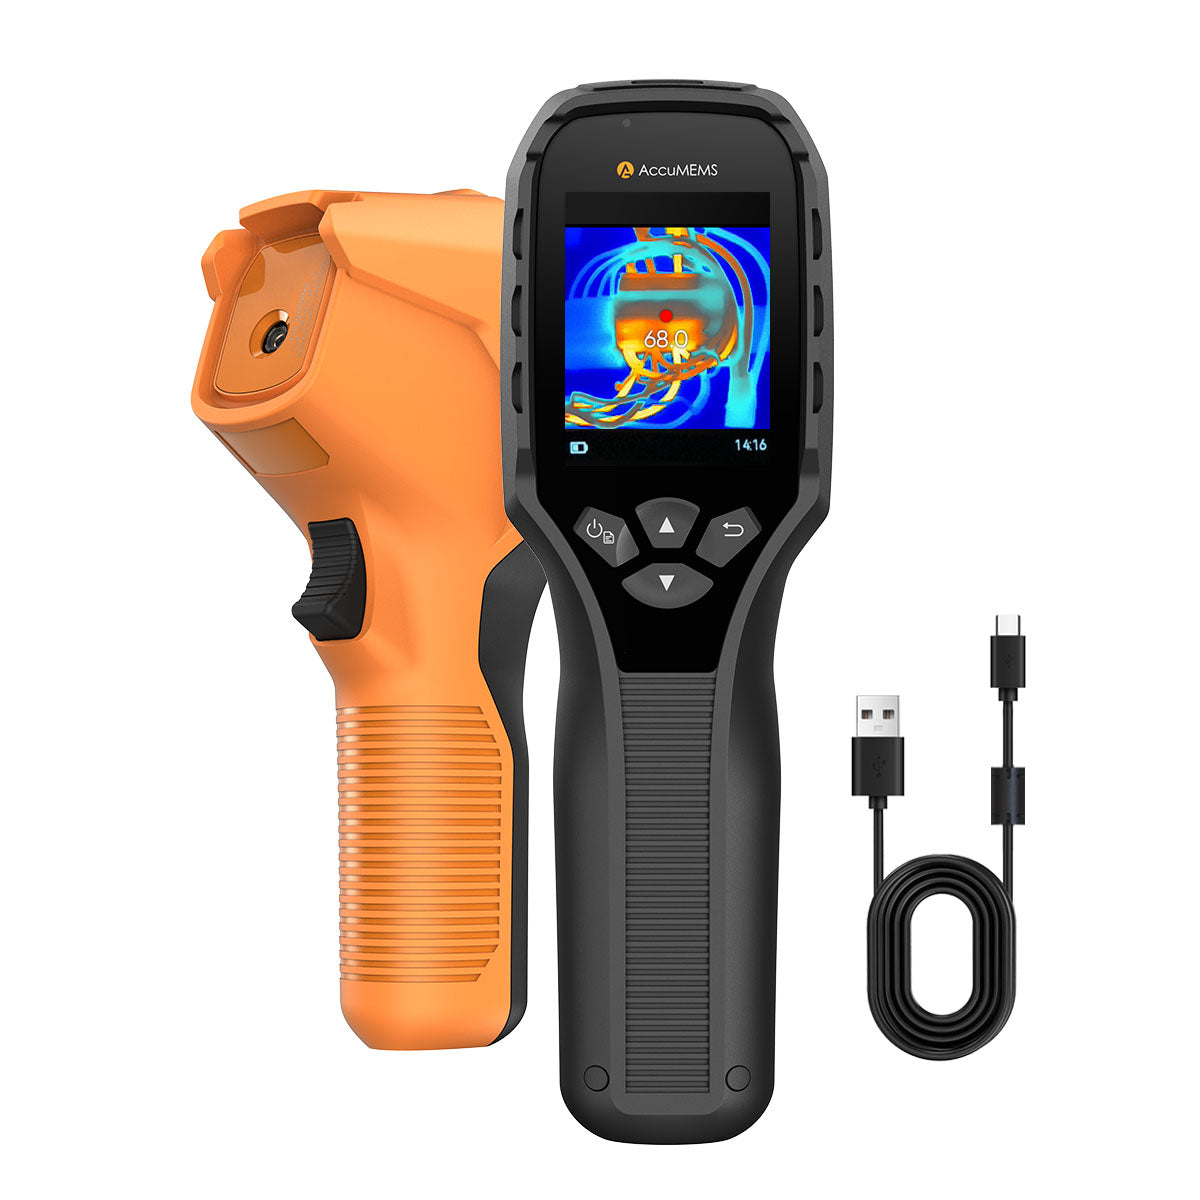
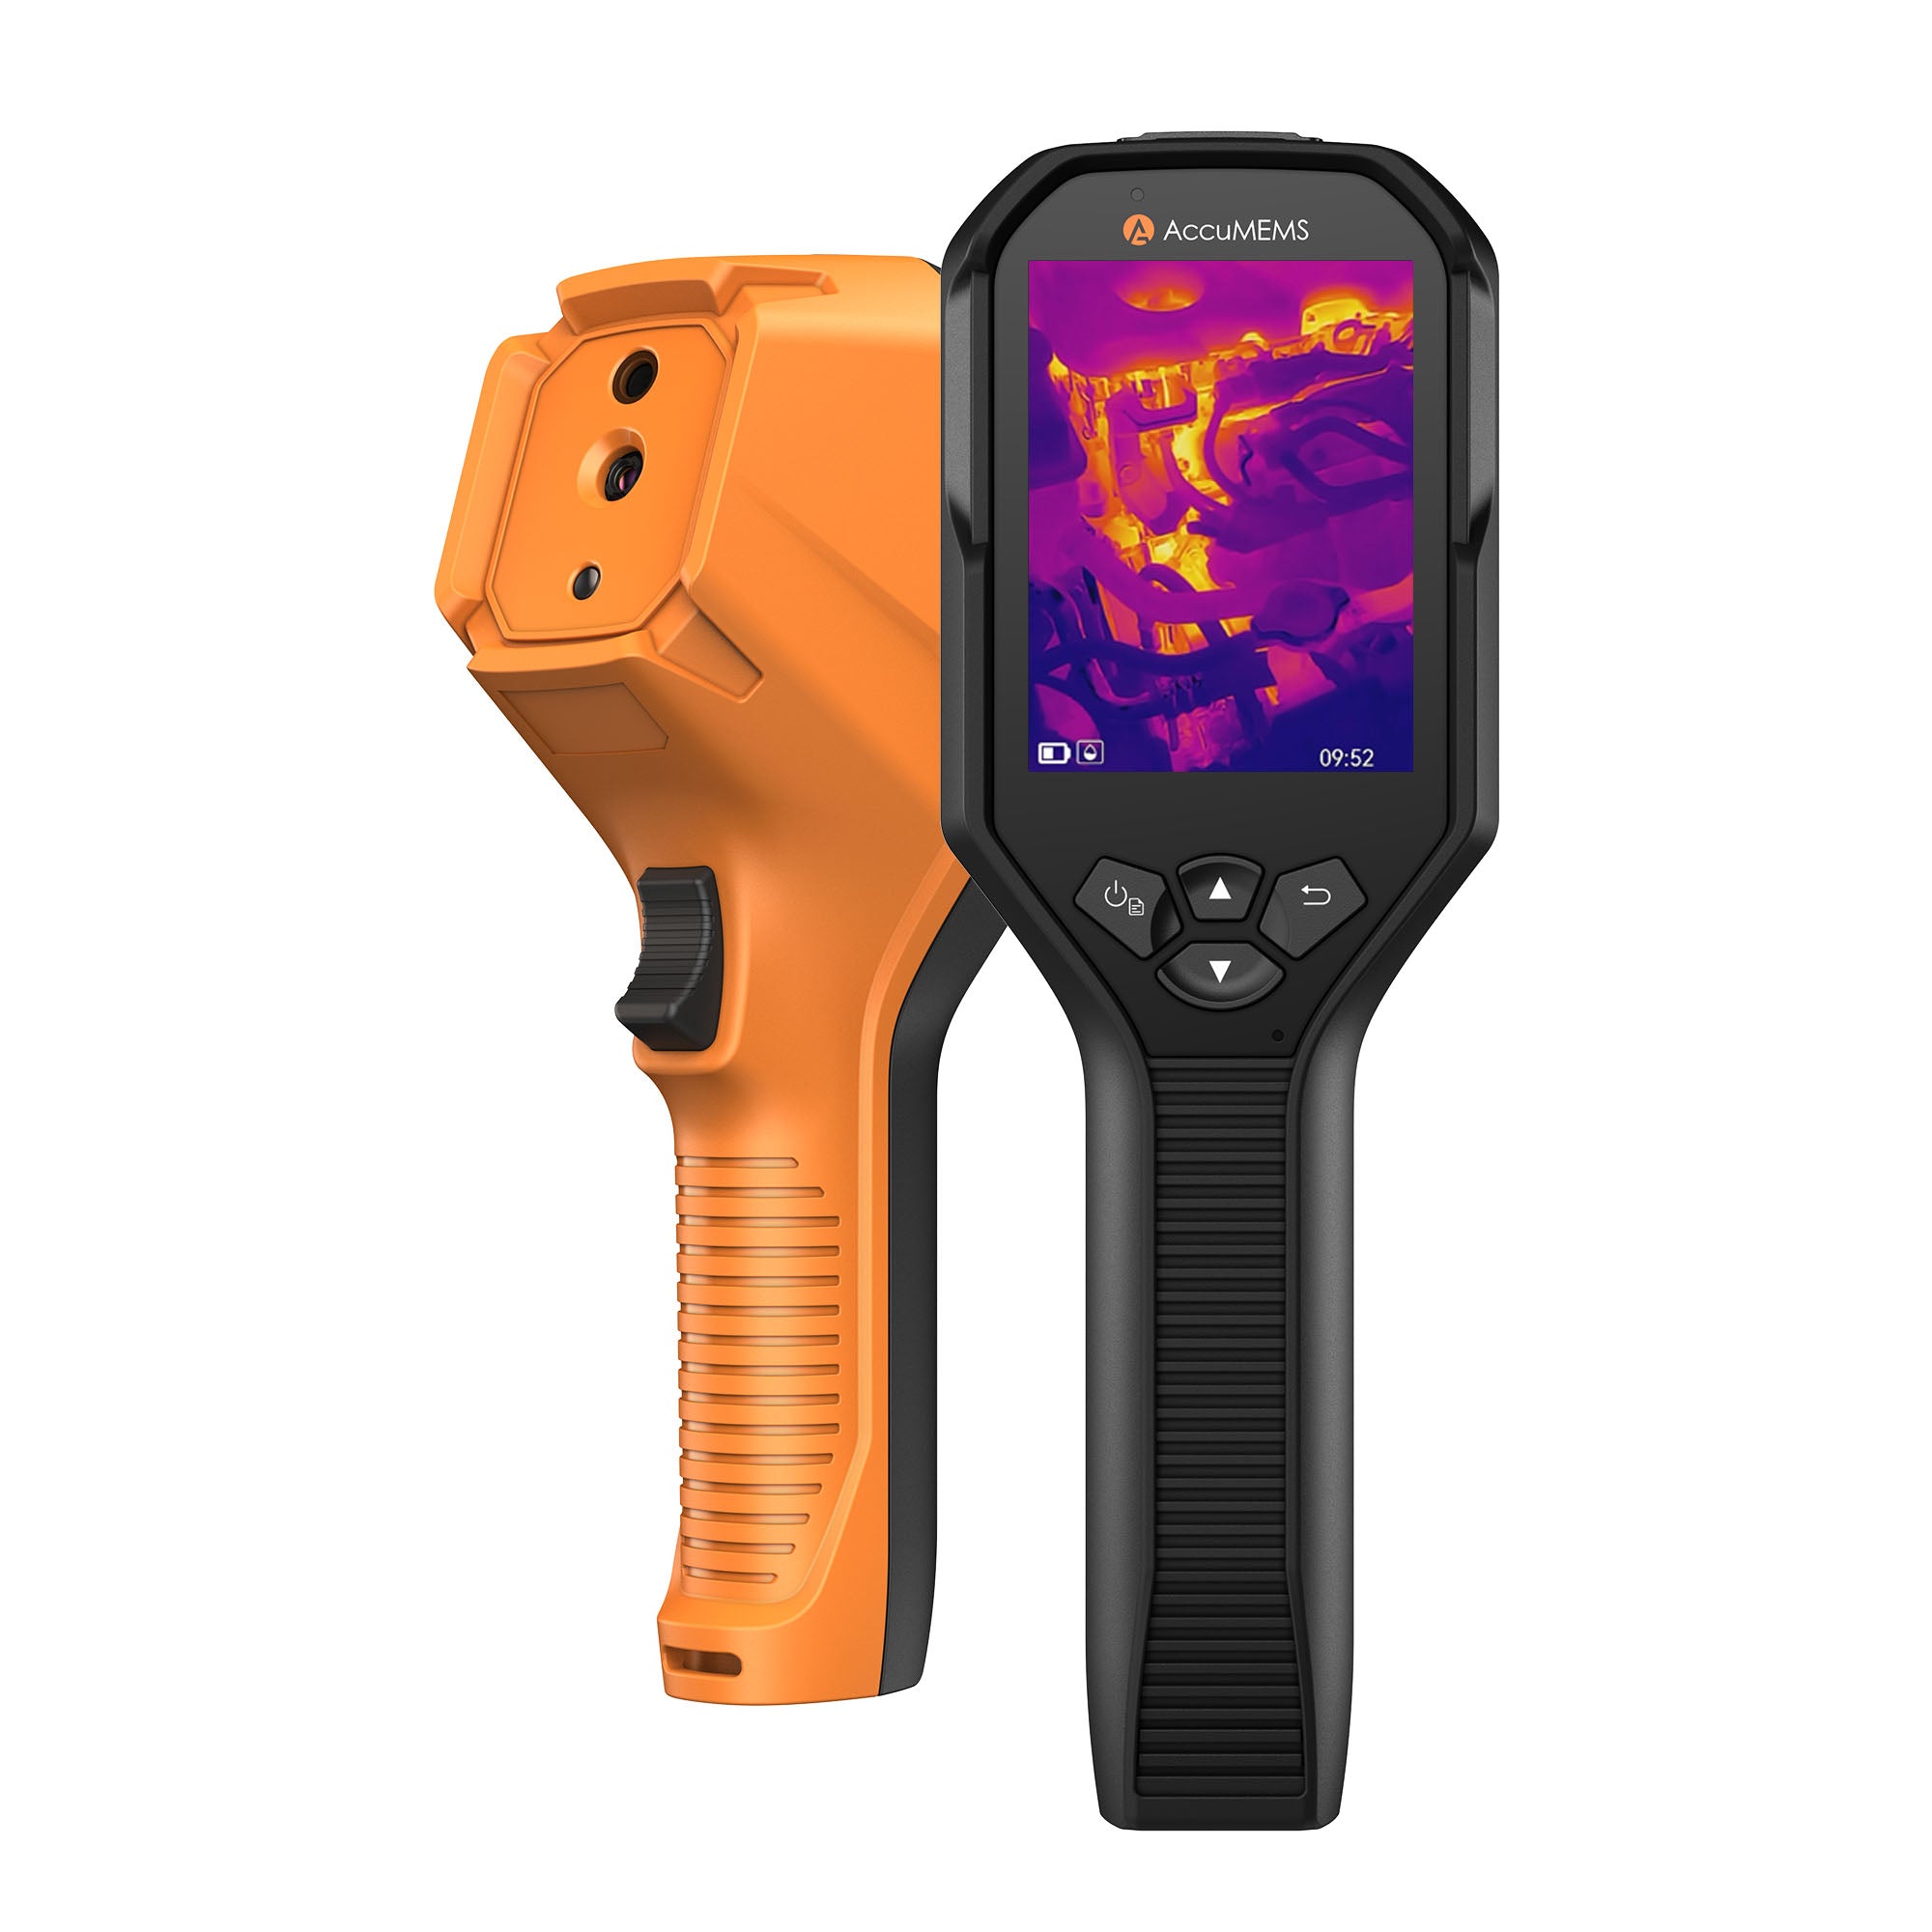
- Handheld Series: Designed for professional inspection and field applications, offering a comfortable grip and convenient operation.
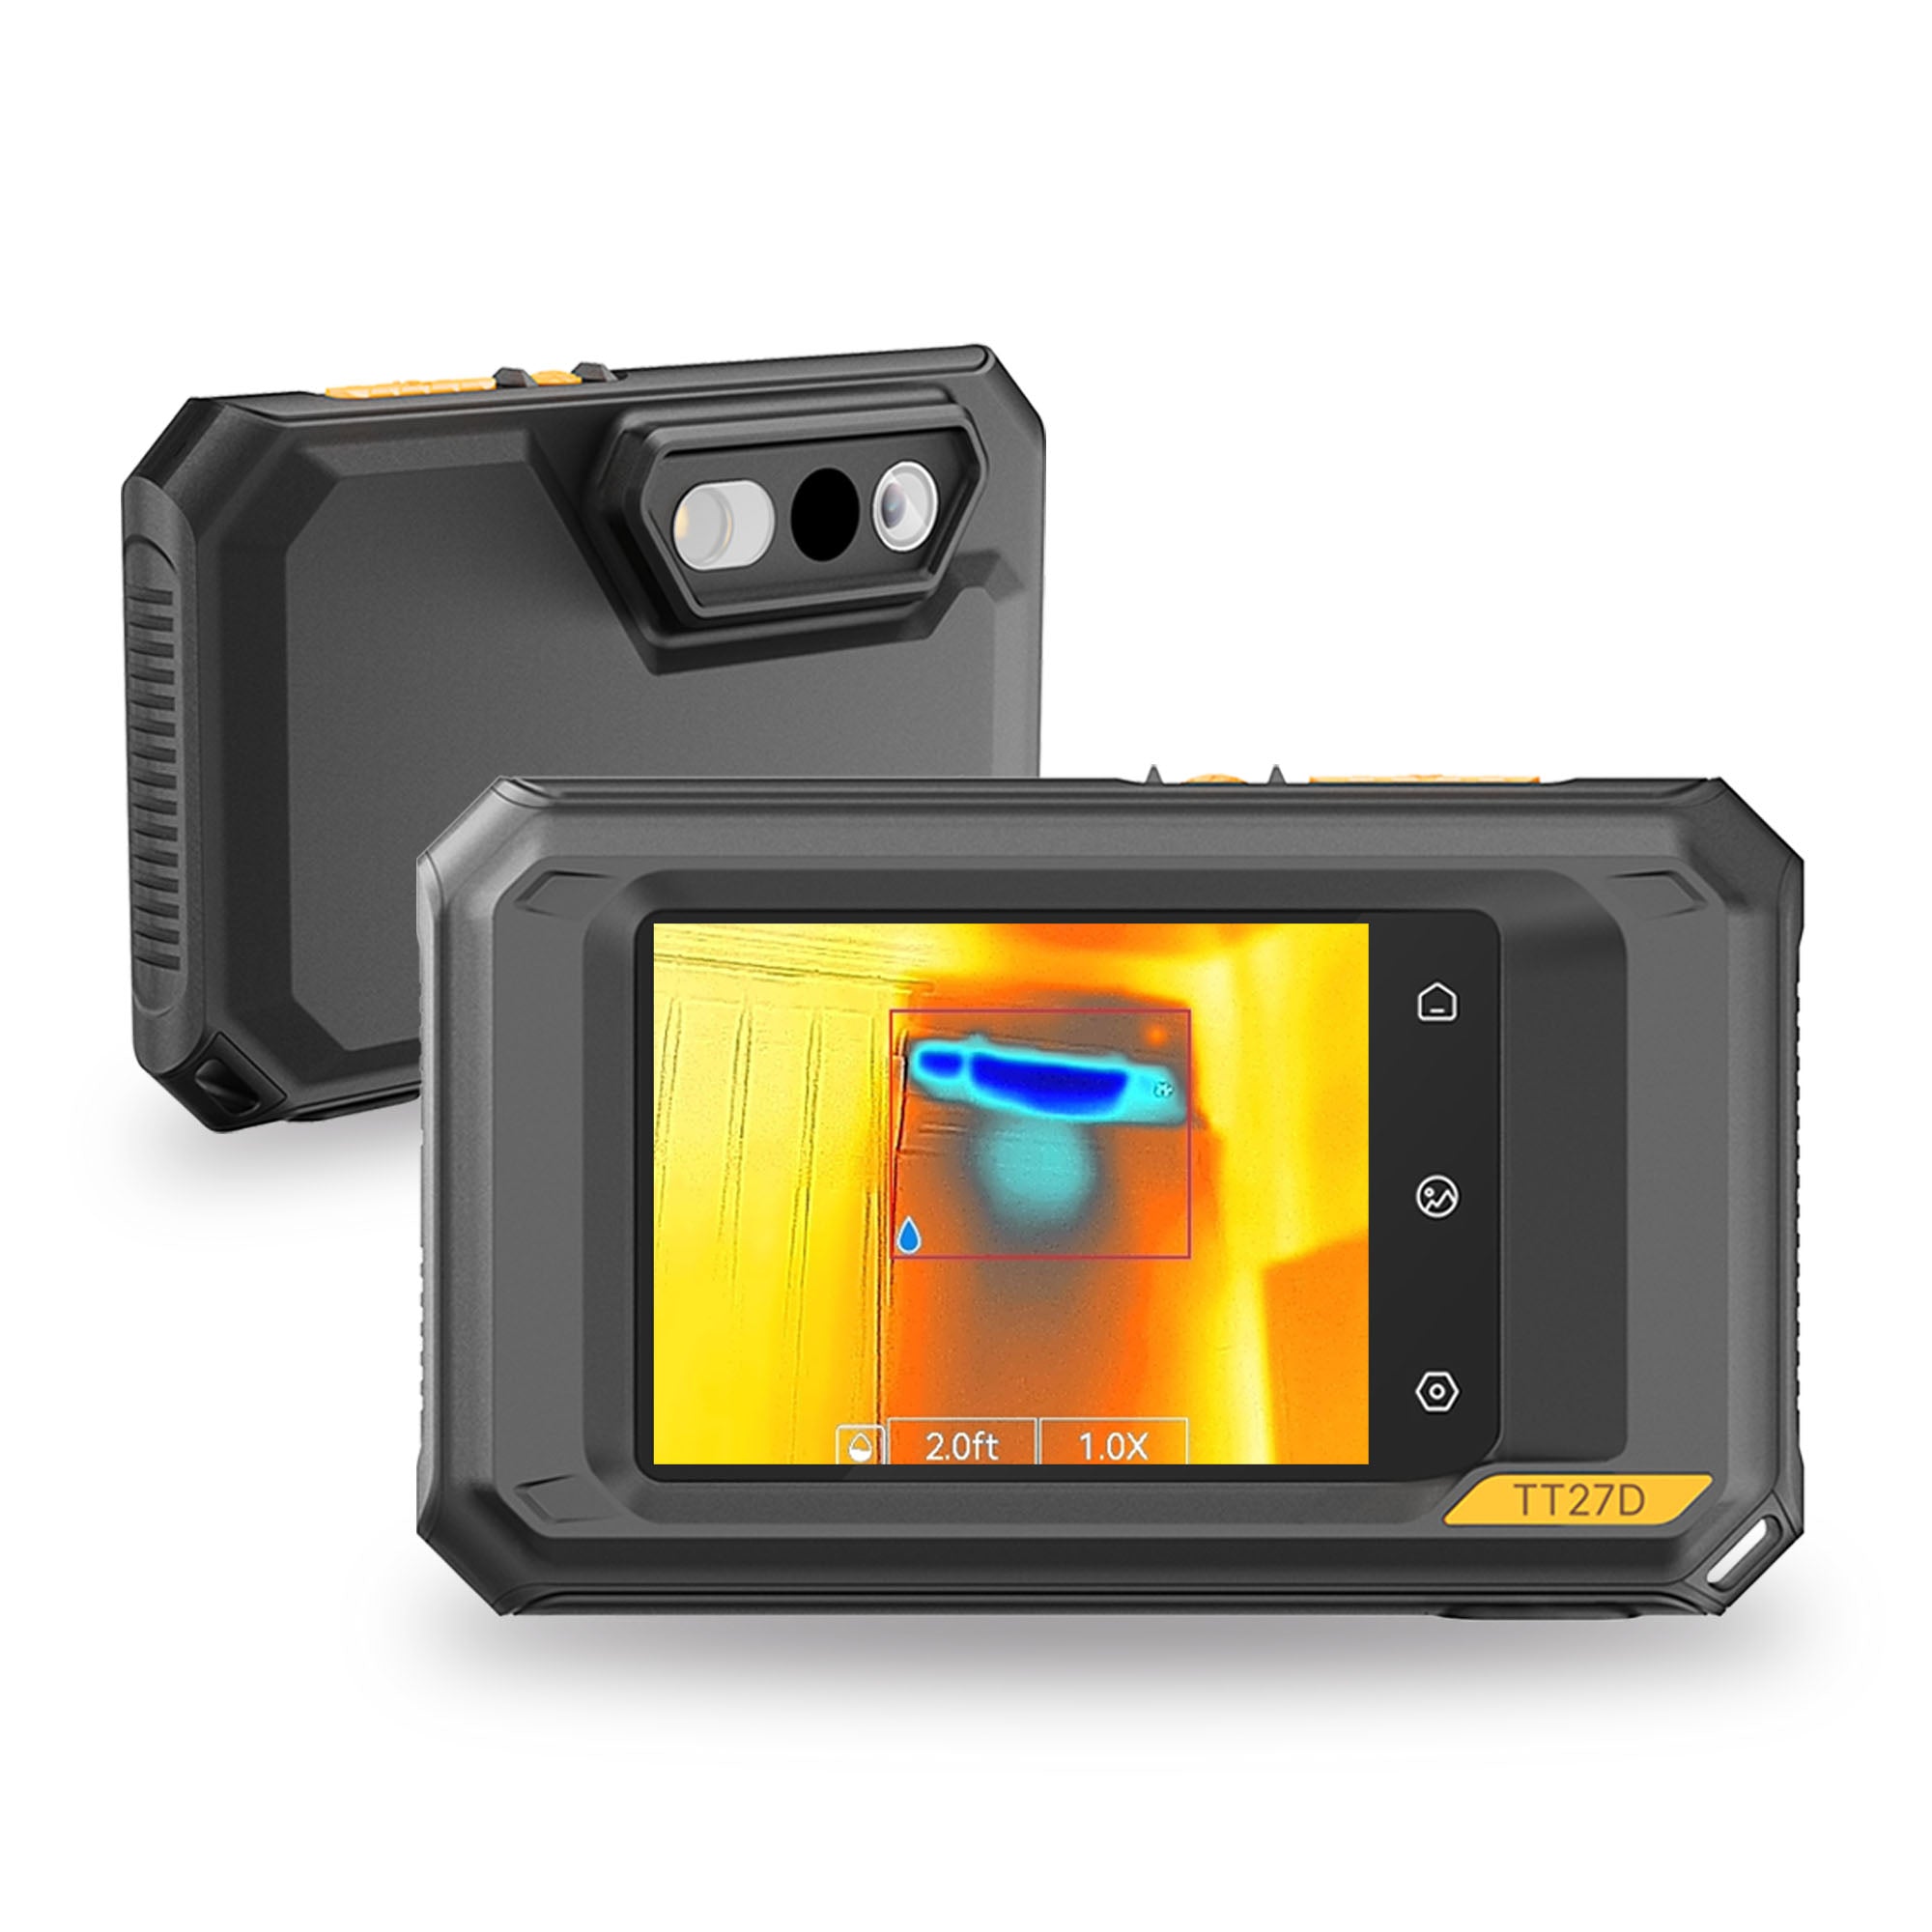
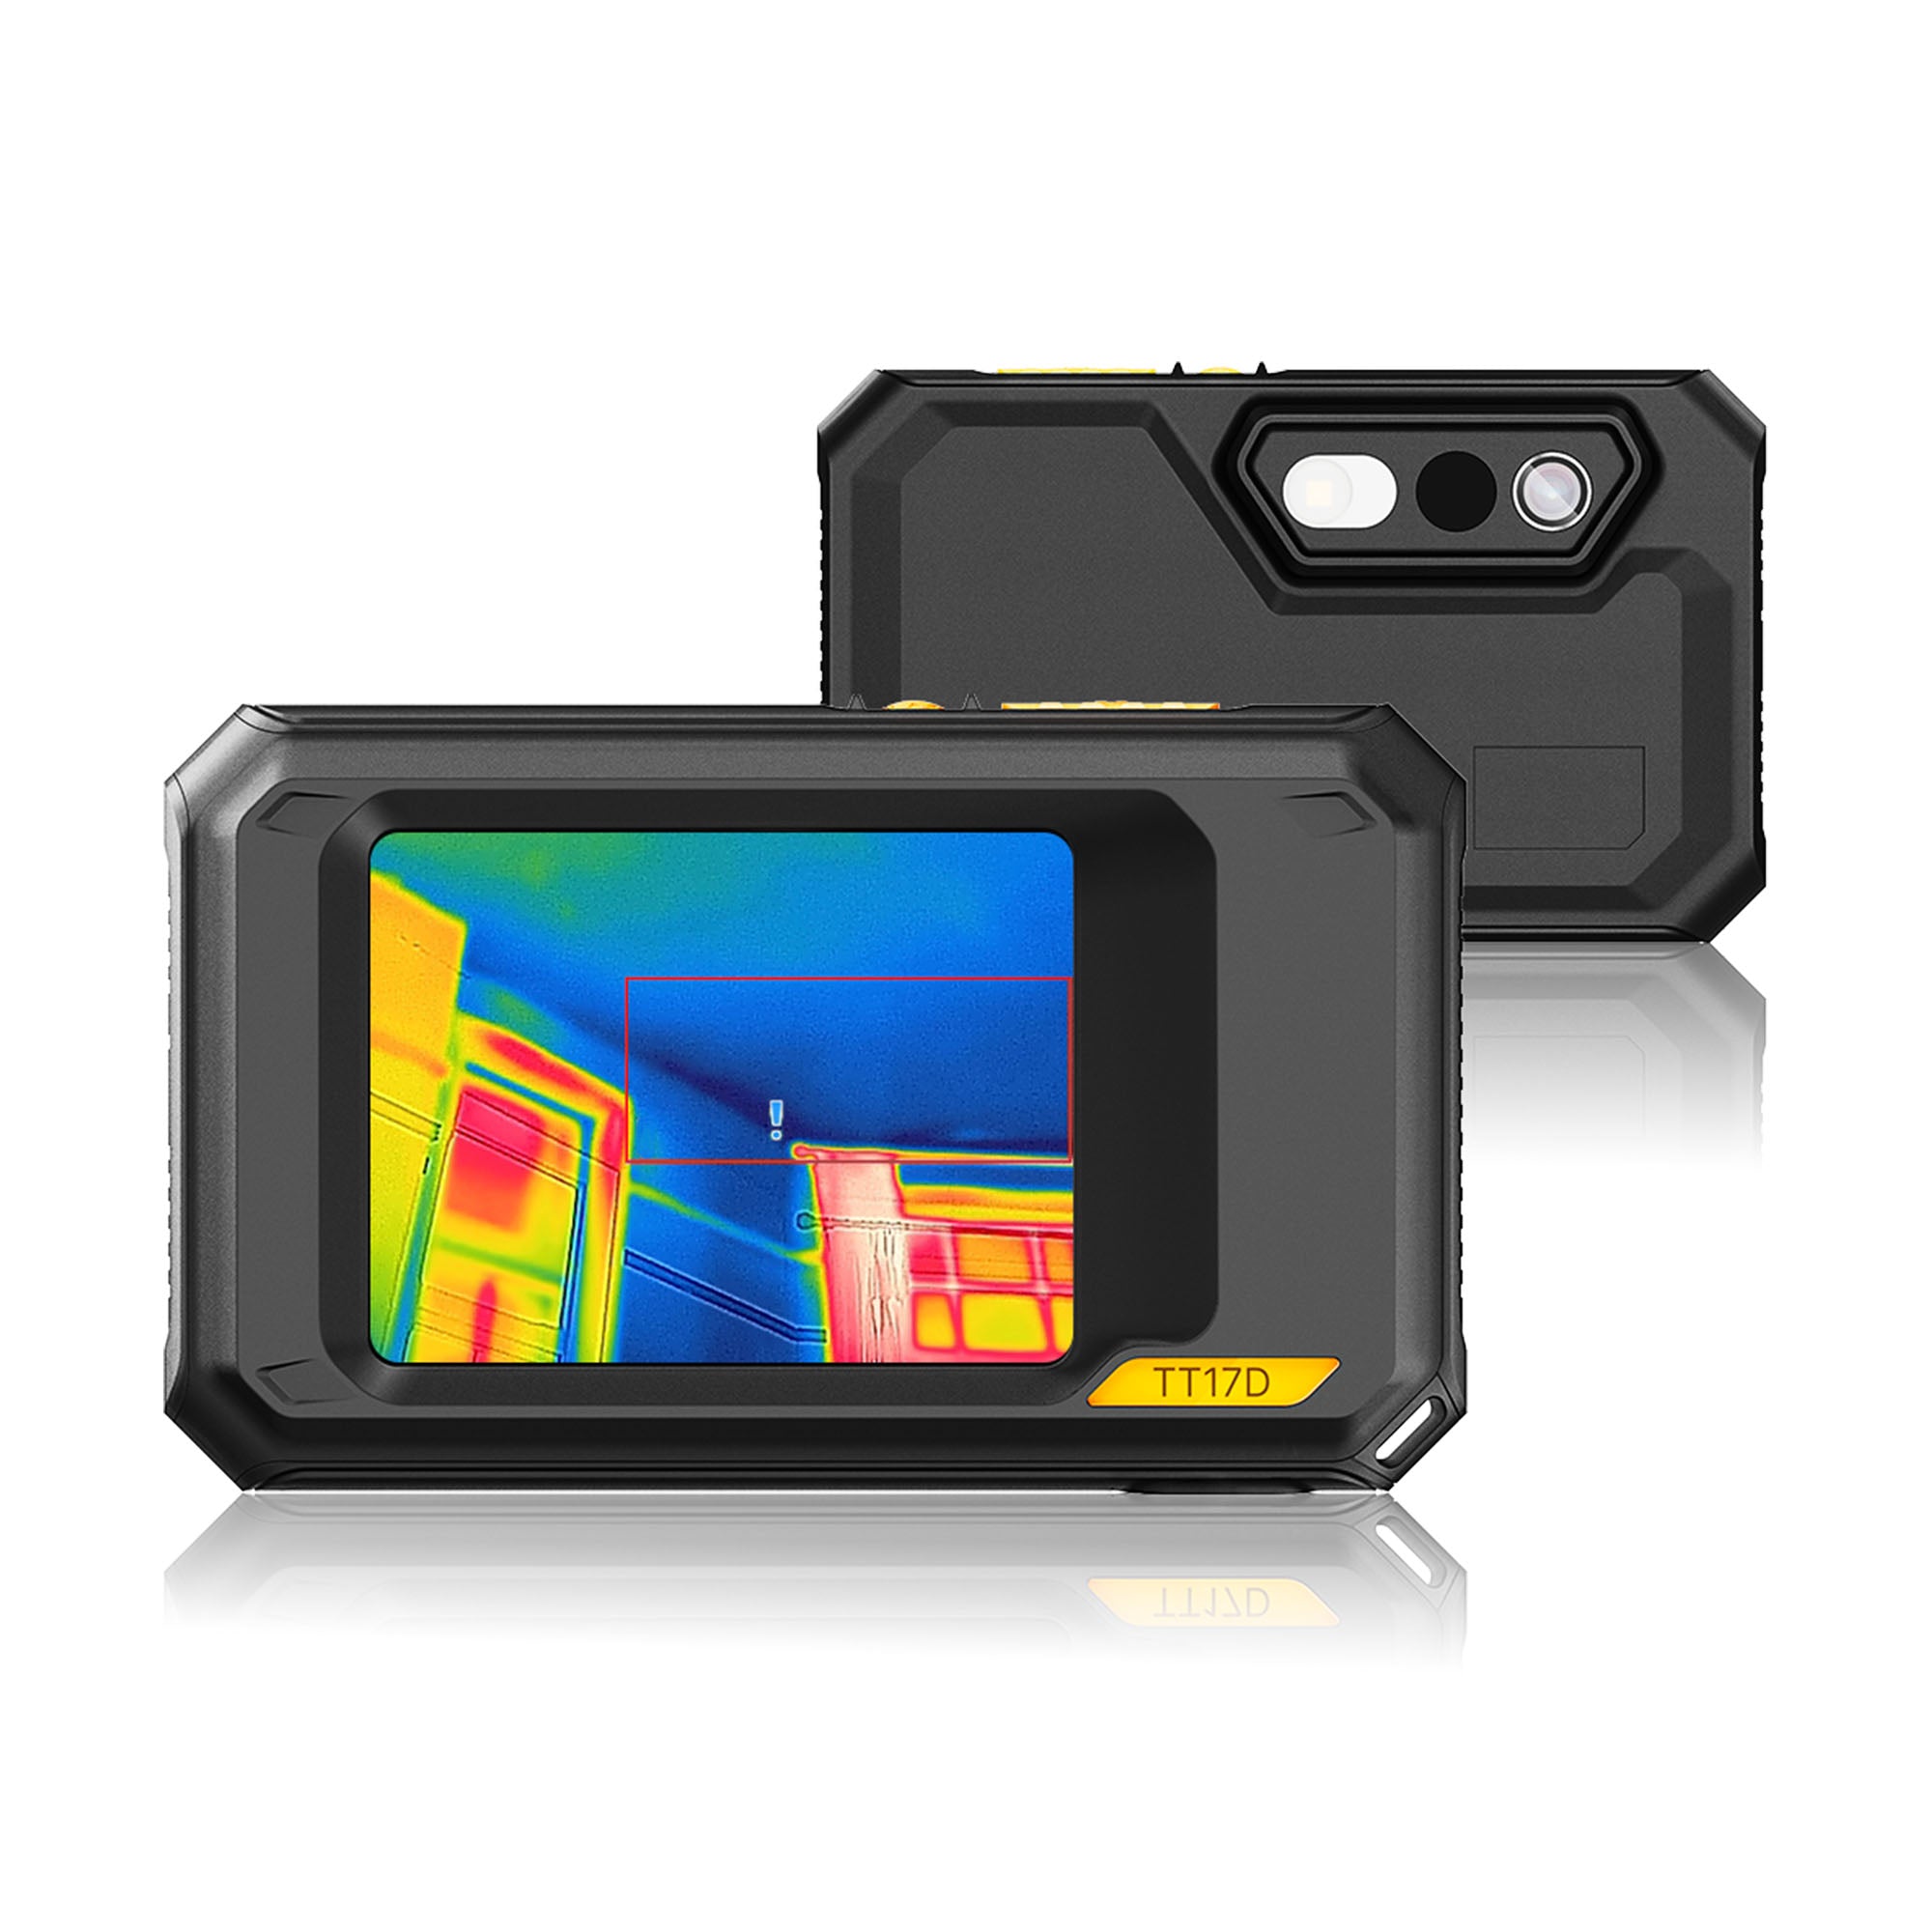
- Pocket Series: Compact and portable, ideal for users who need a lightweight thermal camera that can be carried anywhere.
- Plug-in Series: Designed to work with smartphones, providing a simple and flexible thermal imaging solution.
The choice mainly depends on your preferred form factor, working environment, and application scenario. Each series provides reliable thermal imaging performance with different levels of portability and convenience.
What can thermal imaging cameras detect?
Thermal imaging cameras can detect temperature differences on the surface of objects, making them useful in many professional and daily applications.
Common applications include:
- Electrical inspection: Detect overheating components, loose connections, and abnormal heat patterns.
- HVAC inspection: Check air conditioning systems, heating systems, insulation performance, and energy loss.
- Home inspection: Identify insulation problems, air leakage, moisture issues, and abnormal temperature areas.
- Automotive diagnostics: Detect engine overheating, battery temperature differences, and mechanical issues.
- Electronics inspection: Analyze heat distribution of circuit boards and electronic components.
- DIY projects: Assist with home maintenance, renovation, and troubleshooting.
The actual detection capability depends on the thermal sensor resolution, temperature accuracy, and your specific application requirements.
Can thermal cameras detect water leaks?
Yes, thermal imaging can assist in detecting potential water leak areas.
Water leakage often causes temperature changes on surrounding surfaces due to evaporation, moisture accumulation, or differences in thermal conductivity. A thermal camera can visualize these temperature variations and help locate areas that require further inspection.
Please note that thermal cameras detect temperature differences caused by moisture, not the water itself. For accurate diagnosis, additional inspection methods may sometimes be required.
Can this product detect air leaks around windows and doors?
Yes. Thermal cameras can help identify air leakage around windows, doors, and building structures.
When outside air enters through gaps or poor insulation areas, it creates temperature differences on the surface. These abnormal temperature patterns can be captured by a thermal imaging camera, helping you locate potential leakage points.
Can The Thermal Imager Penetrate Walls or Floors?
No. Thermal imagers cannot penetrate walls or floors like X-ray machines. They can only detect heat emitted from the surface of an object. However, in certain cases, the thermal imager can detect anomalies inside walls or floors, such as water pipe leakage or heat loss due to poor insulation. This is because the thermal imager can capture the heat conducted to the surface of the wall or floor. If the pipe has no contact with the wall or ground, the temperature cannot be conducted, and the thermal imager cannot detect it.
Can thermal images be transferred to a computer? Can I record videos?
Yes.
Thermal images can be transferred to a computer through a data cable or our dedicated software/app.
Using our App or PC software provides additional advantages, such as:
Viewing thermal images with temperature data.
Analyzing temperature differences.
Saving inspection reports.
Managing captured images more efficiently.
Most of our thermal imaging devices also support video recording, allowing you to review inspection processes and easily identify problem areas afterward.
How to take clear thermal Imaging Pictures?
Principle
The temperature distribution on the thermal
image is based on the color of the image. The temperature range in the picture
affects the image effect.
Method
1. When the actual temperature difference of the target in the image is
higher than 10 °C or 20 °C, the thermal effect is most obvious, which helps to
highlight the subtle temperature difference.
2. When the temperature difference of the target in the image is small,
you can manually adjust the temperature range of the whole picture to increase
the contrast of the target.
3. It is recommended that the distance between the imager and the
target should be within 2 meters (about 6.56 feet). Adjust the distance to
ensure clear focus, especially for small targets.
4. Enable Picture-In-Picture or Fusion Pattern to add visual details
(if applicable).
5. Select an appropriate pallet for the scene to get an image with high
contrast.
How accurate is the temperature measurement?
The temperature accuracy depends on the specific model, measurement distance, environmental conditions, and surface characteristics.
For best results:
- Keep an appropriate distance from the target.
- Avoid measuring through reflective surfaces.
- Adjust emissivity settings when necessary.
- Consider environmental factors such as airflow and surrounding temperature.
How to Extend The Life of Lithium Batteries?
Tips
1. Initial Charging: Charge the device for 3 hours in the off state
before first use.
2. Charging Cable: Use the included charging cable or an authenticated
one.
3. Power Adapter: For best results, use a standard 5 V/2 A charger.
4. Storage and Reuse: When storing the device for a long time, charge
it to full capacity every 3 months. Before using the device after storage, turn
off the device and charge it for at least 30 minutes.
5. Power Button Prompt: Holding the power button can turn off the
device, and pressing the power button briefly can turn off the screen
(supported by some devices).
How to Test The Accuracy of The Devices?
Tips
1. Pour crushed ice and water into the cup, and turn on the imager.
2. Mix the solution and let it stand for a few minutes.
3. Set the imager's emissivity to 0.95 and adjust the distance.
4. Point the imager at the solution to measure its temperature. To get
the best effect, please measure the temperature of water surface and avoid
measuring cup wall. The reading should be close to the freezing point (0 °C /
32 °F) and within the precision range.
Does the material of an object affect thermal measurement?
Yes.
Different materials have different emissivity values, which affect how infrared radiation is emitted and measured.
For more accurate temperature measurements, the emissivity setting may need to be adjusted depending on the surface material. Materials such as metal, plastic, glass, and painted surfaces may require different settings for optimal results.
What Are The Clicking Sound and Frozen Image after Device Startup?
This is a normal phenomenon of the thermal imaging device. To keep the measurement accuracy, the imager will automatically calibrate the environment temperature change. During this process, the screen may stutter and show "Image Calibrating…", and you can also hear a "click" sound from the device. This phenomenon usually occurs when the imager is moved quickly or when it is turned on for the first time.
Unlock Your First Order Discount
Subscribe to receive exclusive offers, product updates, and special savings on your first purchase