


Guidance on Using Thermal Imaging for Common Water Leak Detection
Principle
Water has a higher specific heat capacity than building materials, so the temperature change rate of the leaking area is different from that of the surrounding materials. The thermal imager captures this temperature difference to locate the leak point contactlessly.
Tips
- Best Testing Time Period: Choose sunrise or sunset for testing. At this time, the temperature difference between indoors and outdoors is usually over 10 °C (50 °F), and the solar radiation heat gradient makes the thermal imaging of leak points inside the wall more obvious.
- Environmental Condition Control: The surface temperature should be tested in dry and sunny weather. Rain and snow will lower the surface temperature and interfere with the infrared signal, which will seriously affect the accuracy of detection.
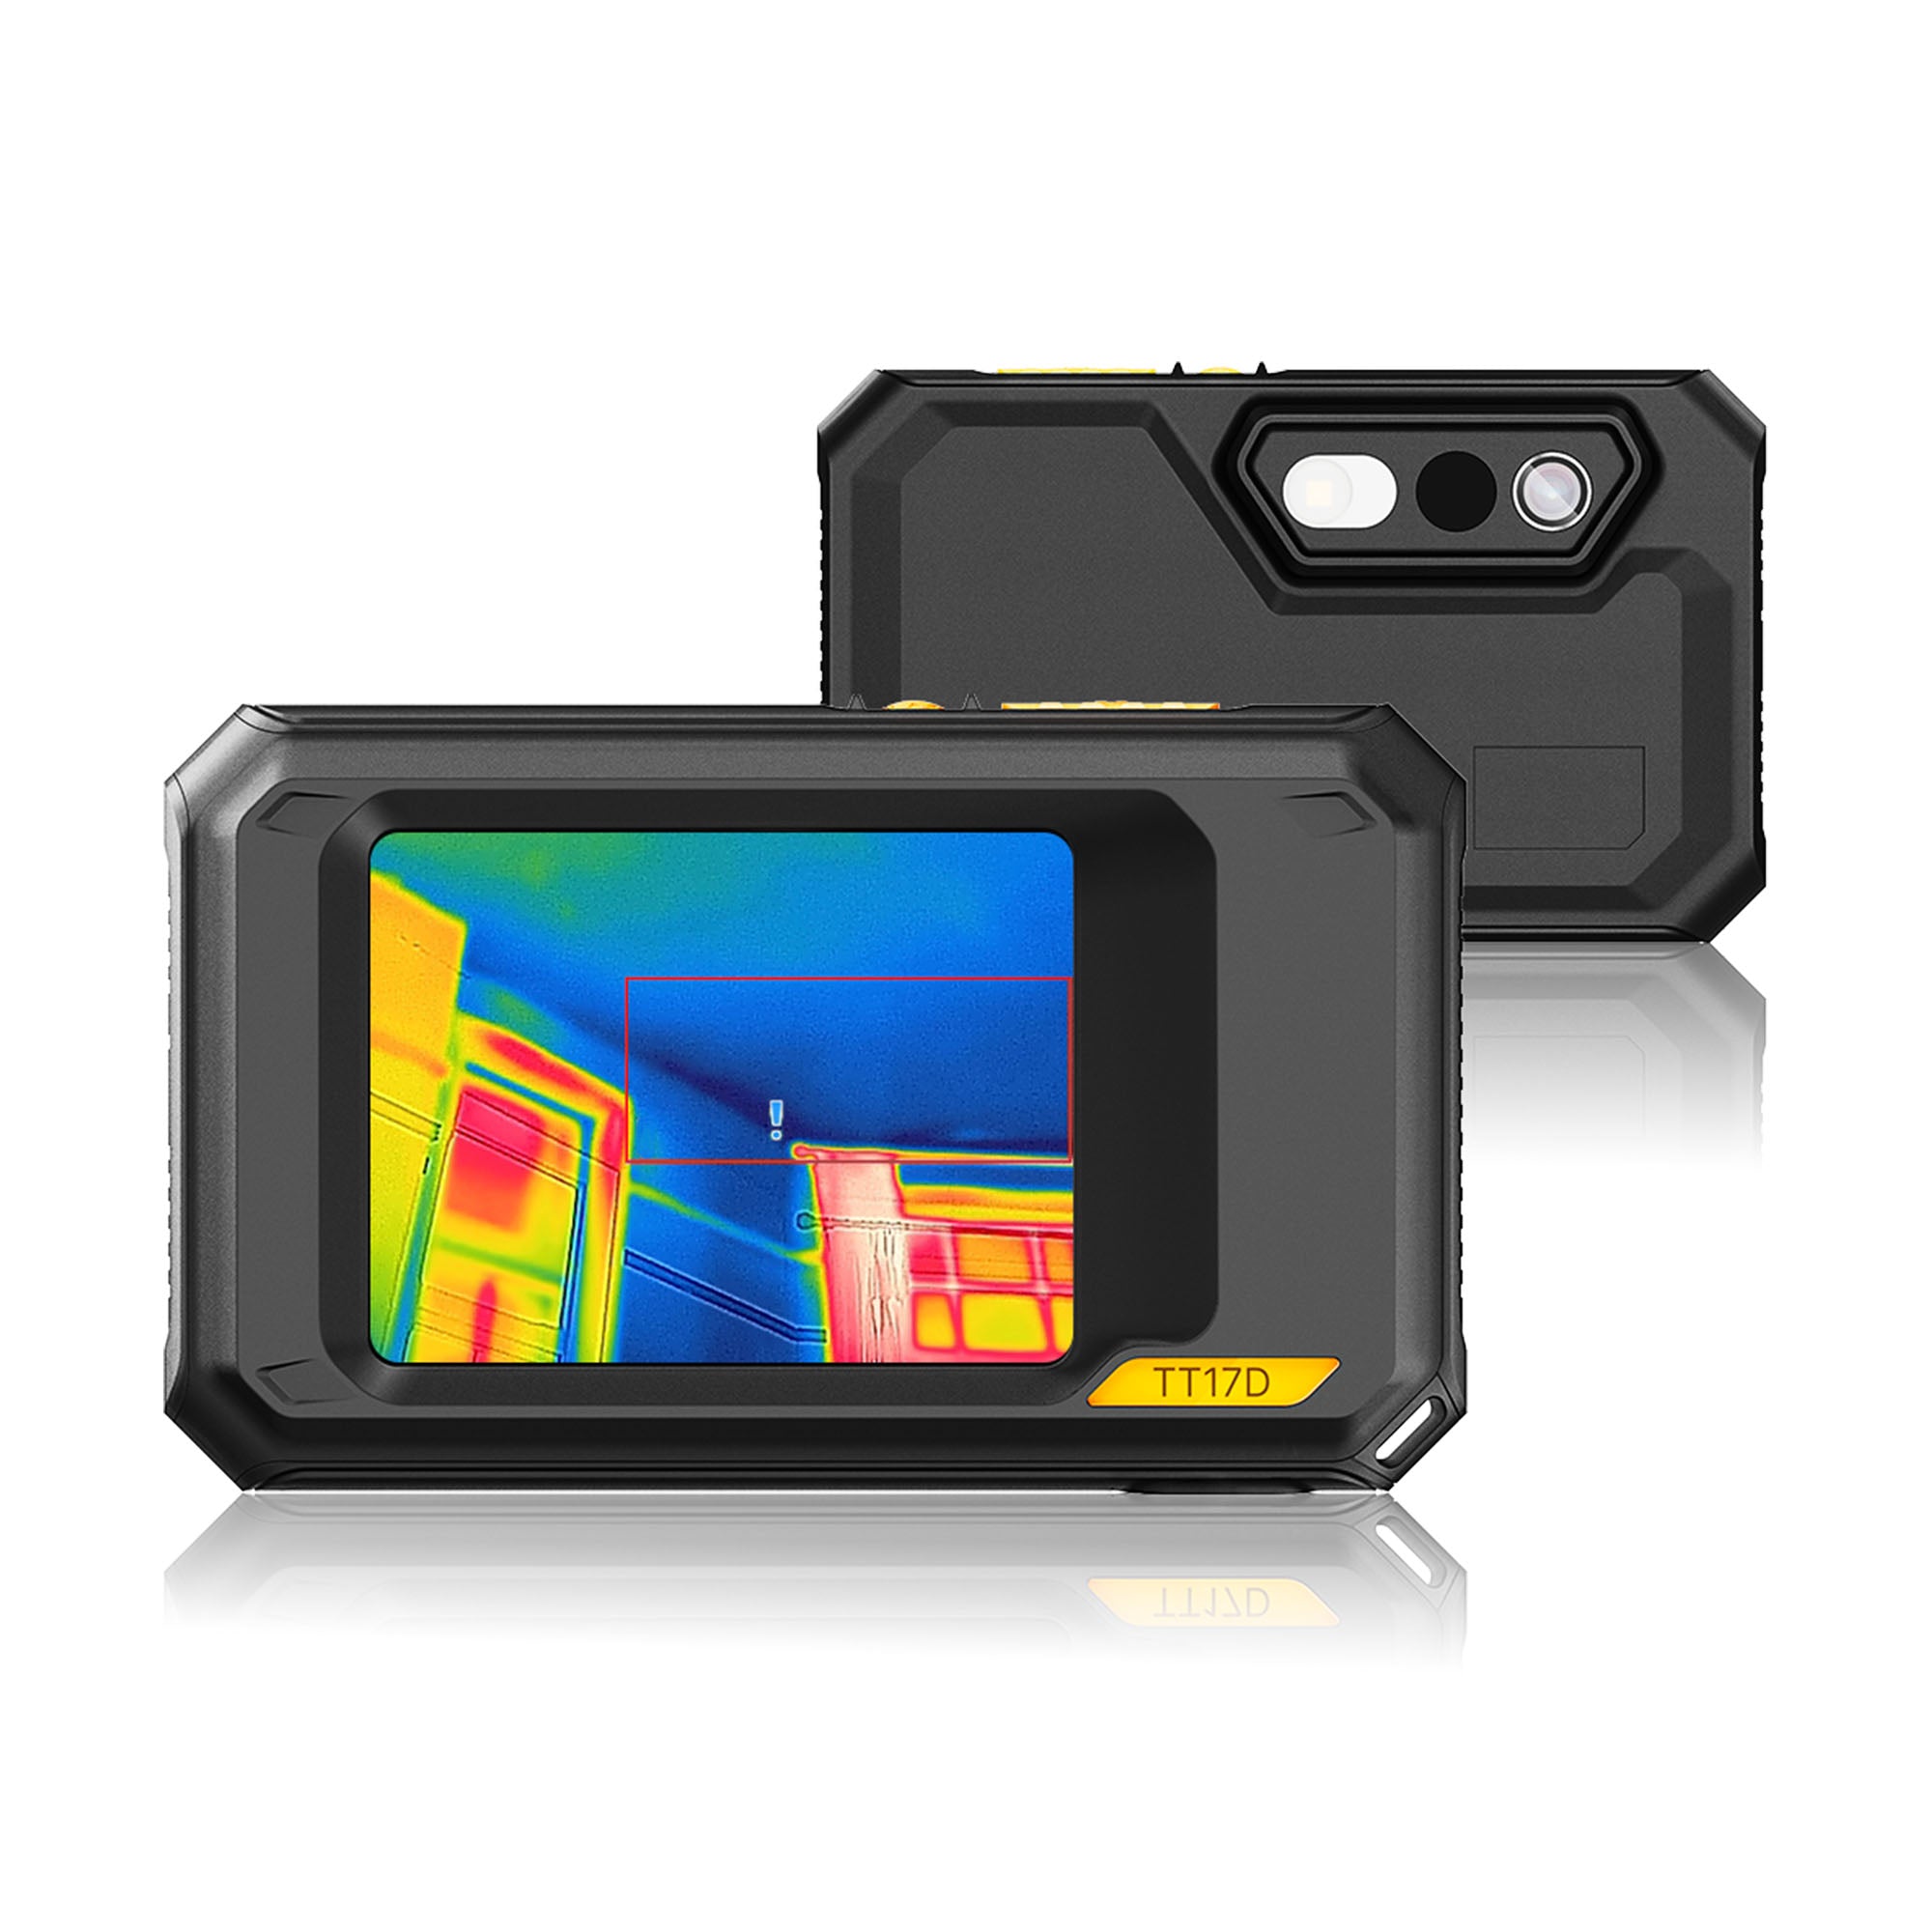
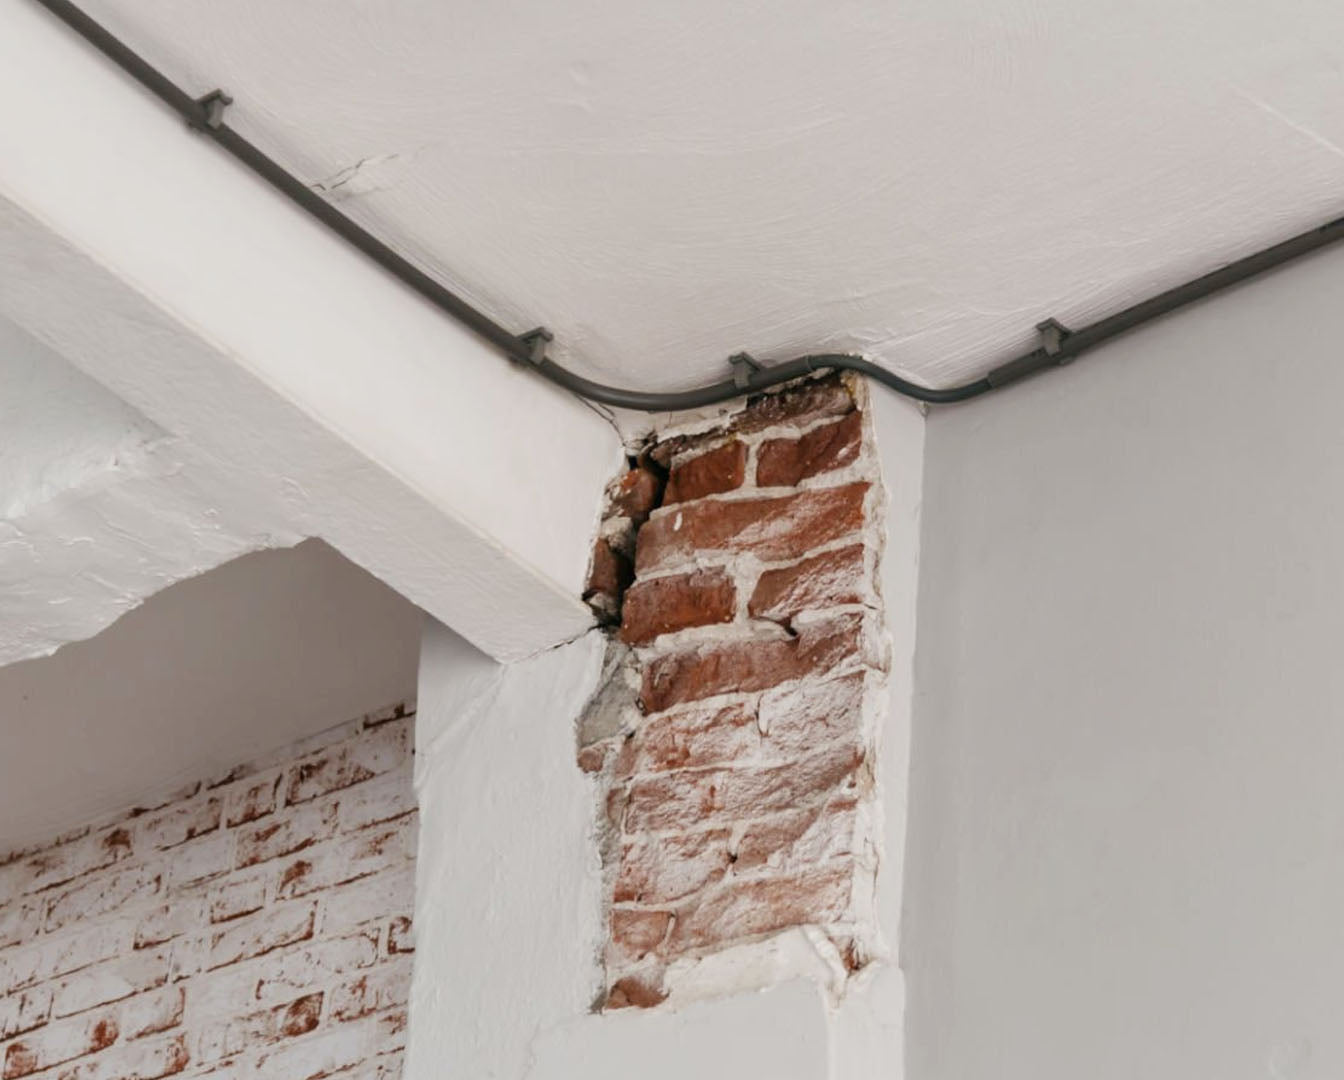
- Priority Detection Area: Scan the weak links of building structures such as wall corners, window and door edges, existing cracks, pipethrough wall holes,and connections, which are high-risk areas for structural water leakage and pipe water leakage.
- Dynamic Verification: Avoiding false alarms caused by single-time capture results. In the periods with significant day and night temperature differences, or after adjusting different angles to capture the same area multiple times.Dynamic verification can be used to exclude false alarms.
NOTE
- Structural Leakage Test: Spraying water on the wall to simulate wetting, or testing the residual water-stained area immediately after rain, can enhance the temperature difference contrast.
- Pipe Leakage Detection: For persistent water leakage, you need to take pictures during periods of water pressure changes (such as before and after peak water usage) and refer to the specific suggestions for pipe leakage detection.
- Micro Leakage: if the water leakage is very small and the temperature difference is not obvious, it is recommended to use imagers with higher sensitivity and resolution (such as ≤40 mK thermosensitivity and ≥256 × 192 resolution) to improve detection rate.
Guidance on Using Thermal Imaging for Water Pipe Leak Detection
How to Use Thermal Imaging for Hot Water Pipe Leaks?
Principle
When hot water pipes leak, heat energy will conduct to the surface of buildings, and the leaked area will show as a high-temperature region(usually in red or highlighted color) on the thermal image, which can help you locate the leakage point.

Tips
- Time Selection: Select sunrise or sunset time when the environment temperature changes significantly and helps to enhance the temperature difference effect.
- Pressure Verification: Use the pipe pressure tester to monitor the pressure change. If the pressure continues to decrease after pressurization, it can be preliminarily confirmed that there is a leak.
- Temperature Difference Enhancement: Ensure the hot water temperature is at least 10°C higher than the room temperature and maintain the flow for 15-30 minutes. Under this condition, a detectable temperature difference can be formed in concrete, wood boards, or gypsum boards with a penetration depth of 3-5cm.
- Pathway Tracking: System scans along the hot water pipe route, focusing on high-risk parts such as interfaces, valves, and wallpenetrating holes, as well as historical maintenance records.
NOTE
The detection effect is influenced by water temperature (must be 10 °C higher than the indoor temperature), pipe burial depth (concrete or dense materials over 5 cm deep may affect imaging), and contact material (wooden boards or gypsum boards can be detected).
This method is applicable to contact heat transfer scenes. When pipes have no physical contact with building structures or when leakage water cannot penetrate to the surface, it will not be possible to detect due to lack of temperature difference contrast.
How to Use Thermal Imaging for Detecting Leaks in Cold Water Pipes?
Principle
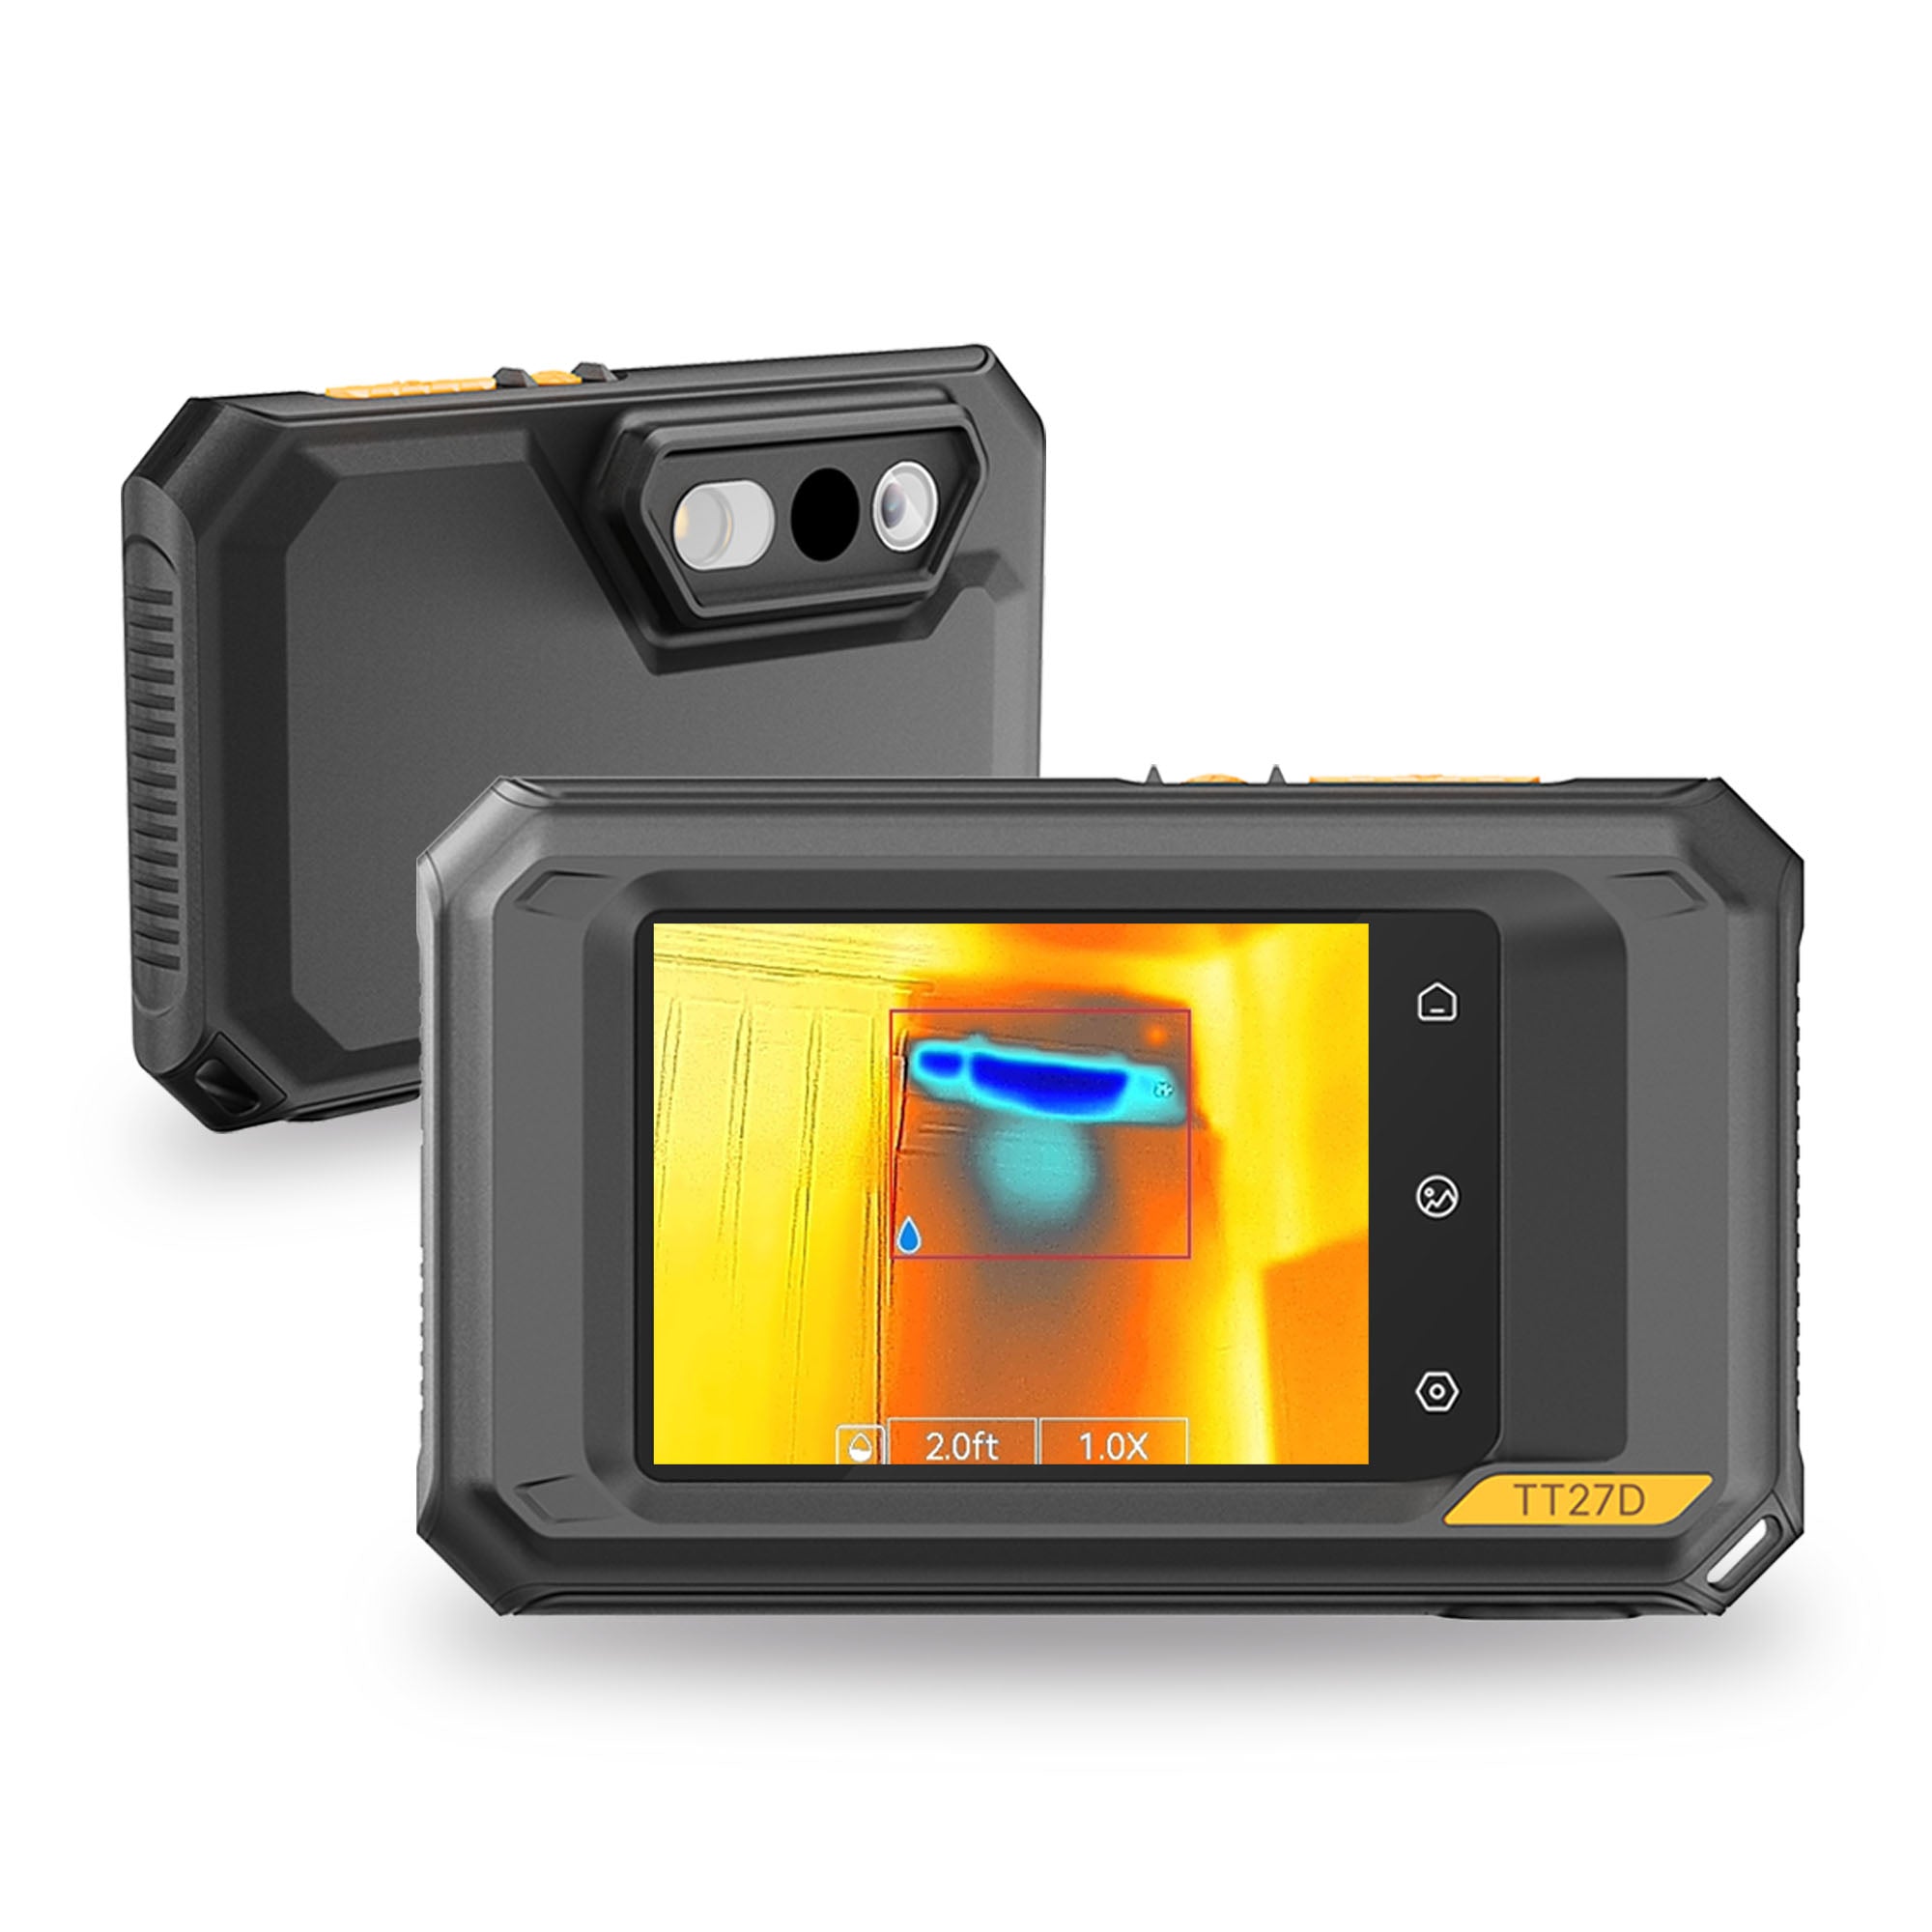
Cold water leakage causes heat conduction to the wall, which results in a lower temperature than that of the surroundings. The thermal imager captures the temperature difference and displays it as a low-temperature area (usually in blue).
Tips
- Time Selection: The temperature difference between cold water and indoortemperature is usually small, and it is difficult for the temperature to conduct to the surface. You can select sunrise or sunset for testing, as the natural temperature difference can help enhance the contrast.
- Pressure Verification: Use a pressurizing imagerto monitor the pressure of the pipe. If the pressure continues to drop, it can help confirm that a leak exists.
- Operation in Winter: After preheating the wall and floor in the heating environment, continuously supply cold water to the cold water pipe to create a significant temperature difference.
- Operation in Summer: Inject cold water into the cold water pipe during the low-temperature sunrise hours to enhance the test effects by leveraging the temperature difference between the environment and the water.
- Temperature Difference Strengthening Method: Pour hot water into the cold water pipe and keep it for 15 minutes (refer to the hot water pipe testing tips), which can quickly generate a recognizable temperature difference.
NOTE
The detection effect is influenced by water temperature (must be 10 °C higher than the indoor temperature), pipe burial depth (concrete or dense materials over 5 cm deep may affect imaging), and contact material (wooden boards or gypsum boards can be detected).
This method is applicable to contact heat transfer scenes. When pipes have no physical contact with building structures or when leakage water cannot penetrate to the surface, it will not be possible to detect due to lack of temperature difference contrast.


Leave a comment
This site is protected by hCaptcha and the hCaptcha Privacy Policy and Terms of Service apply.