
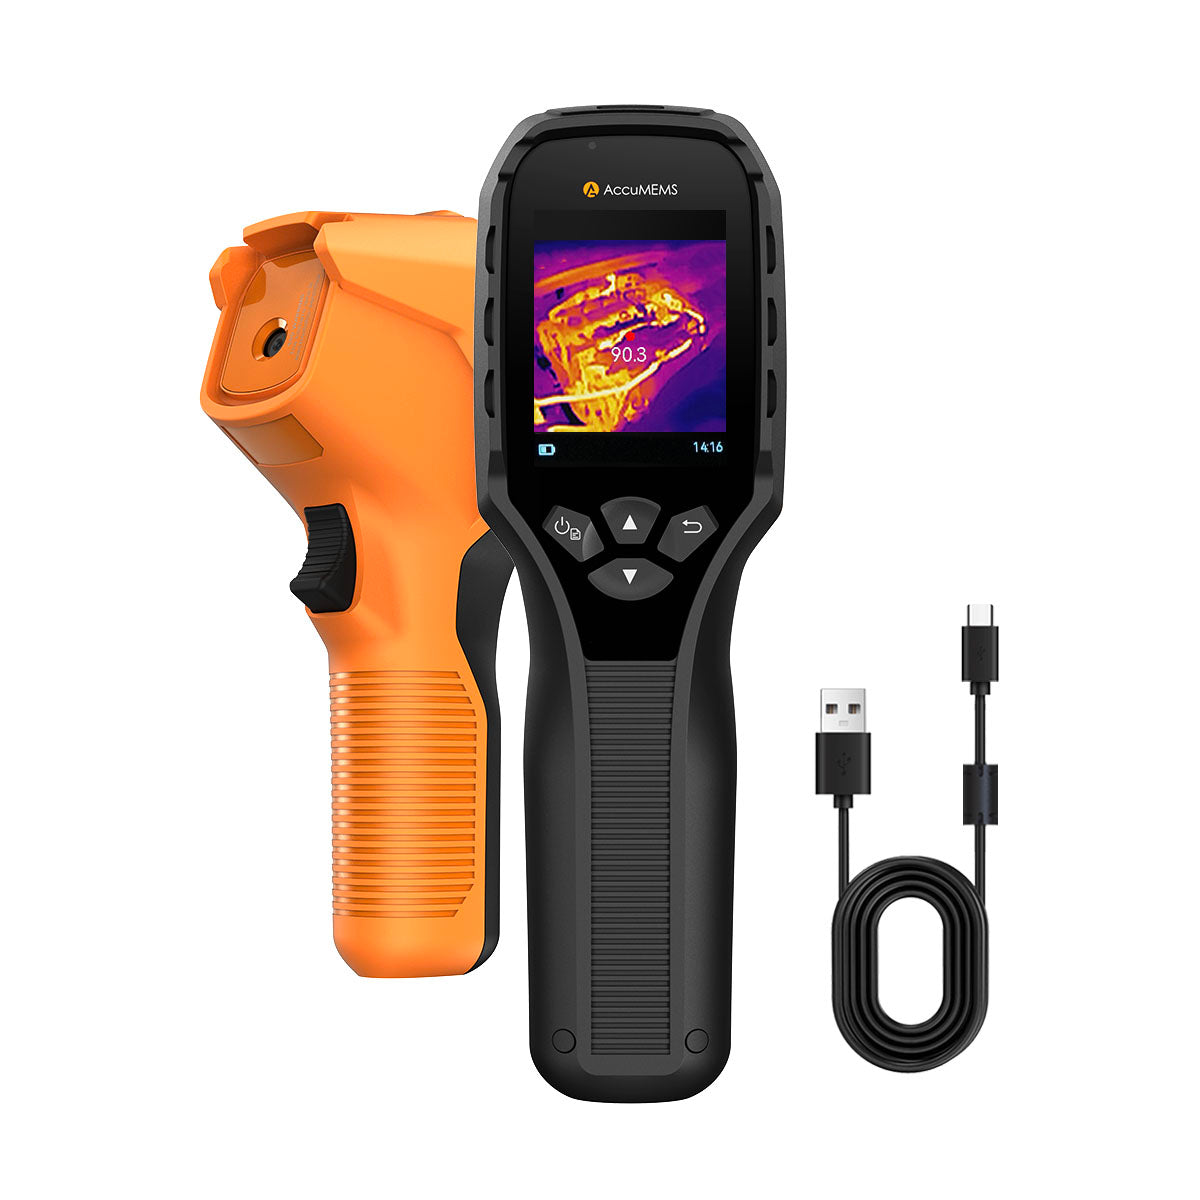
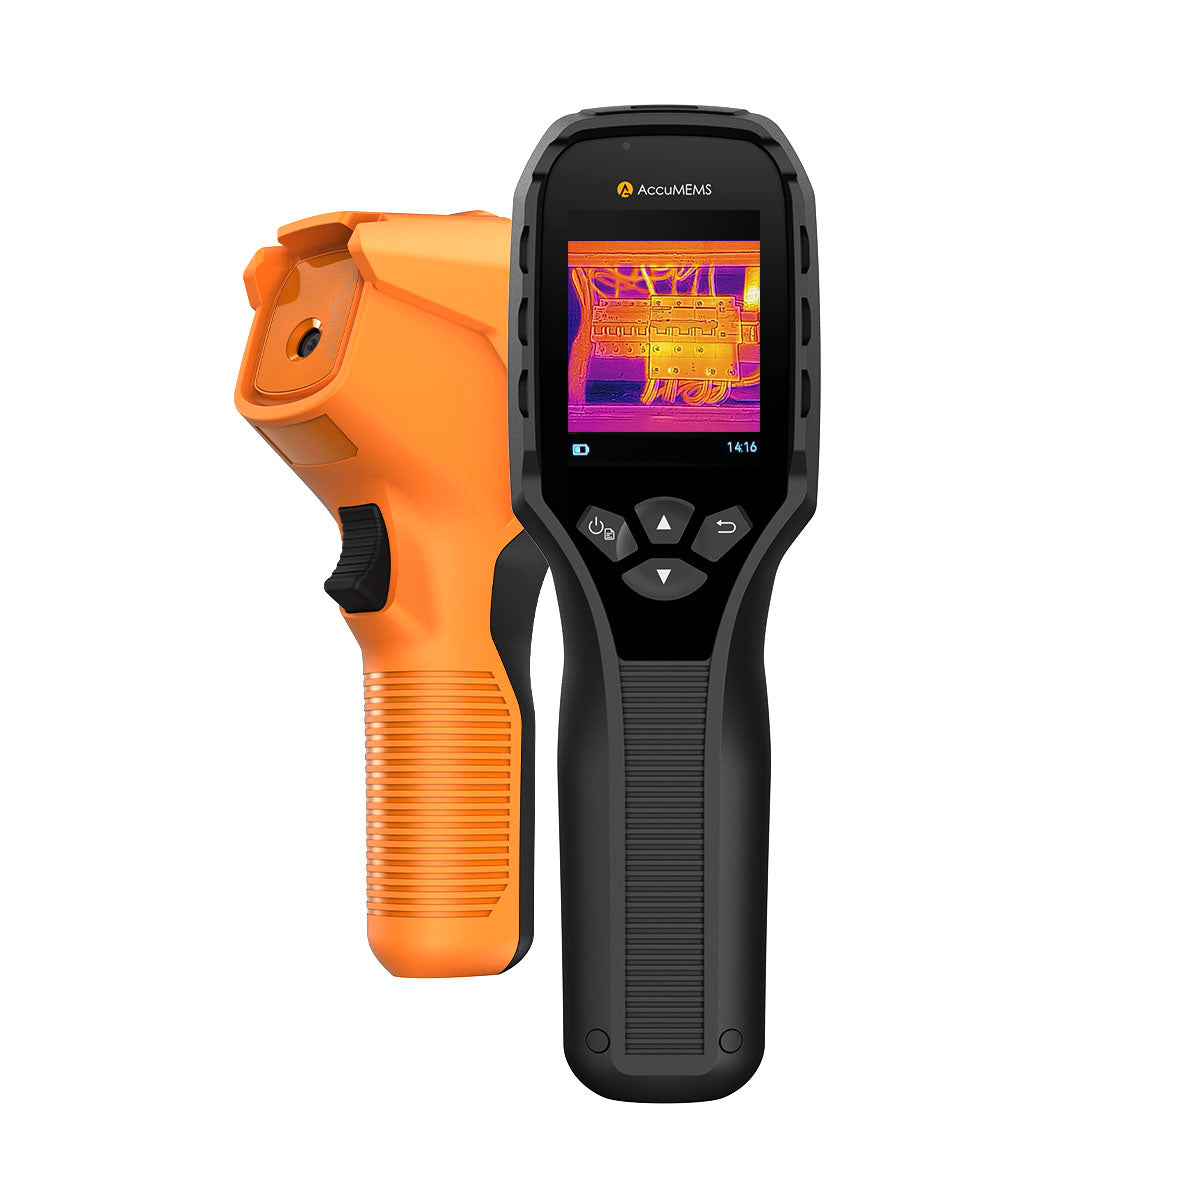
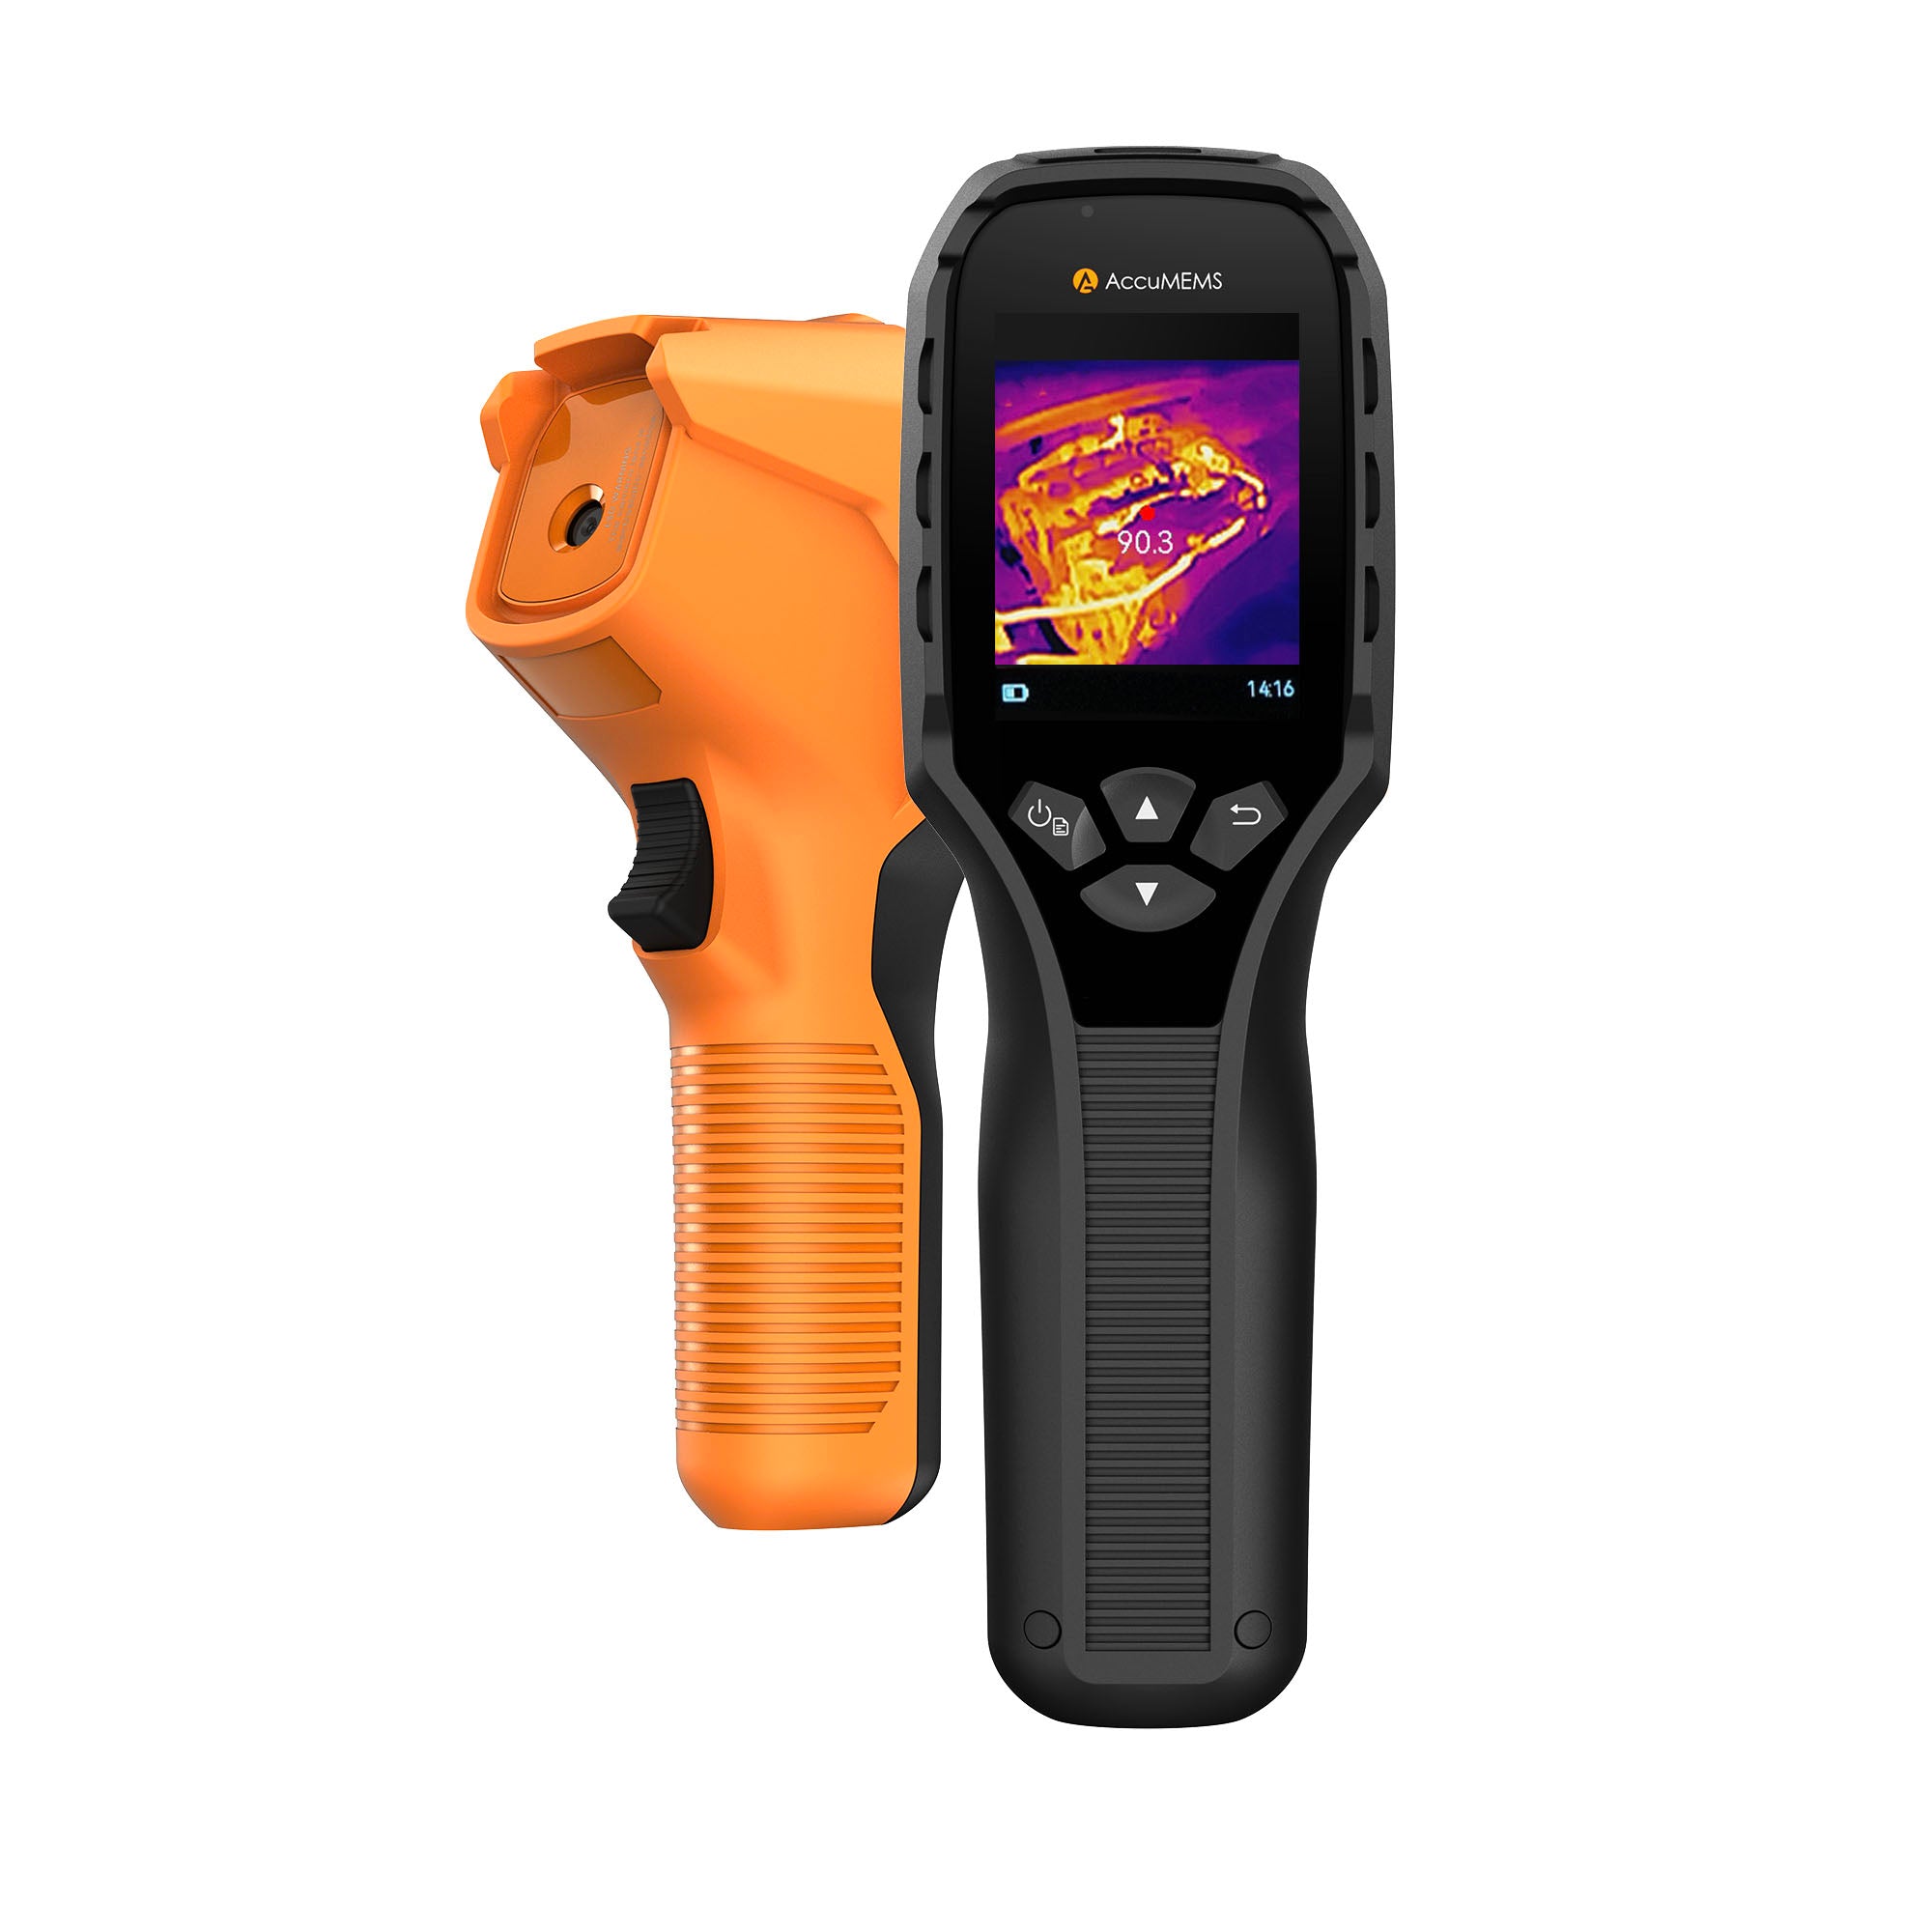
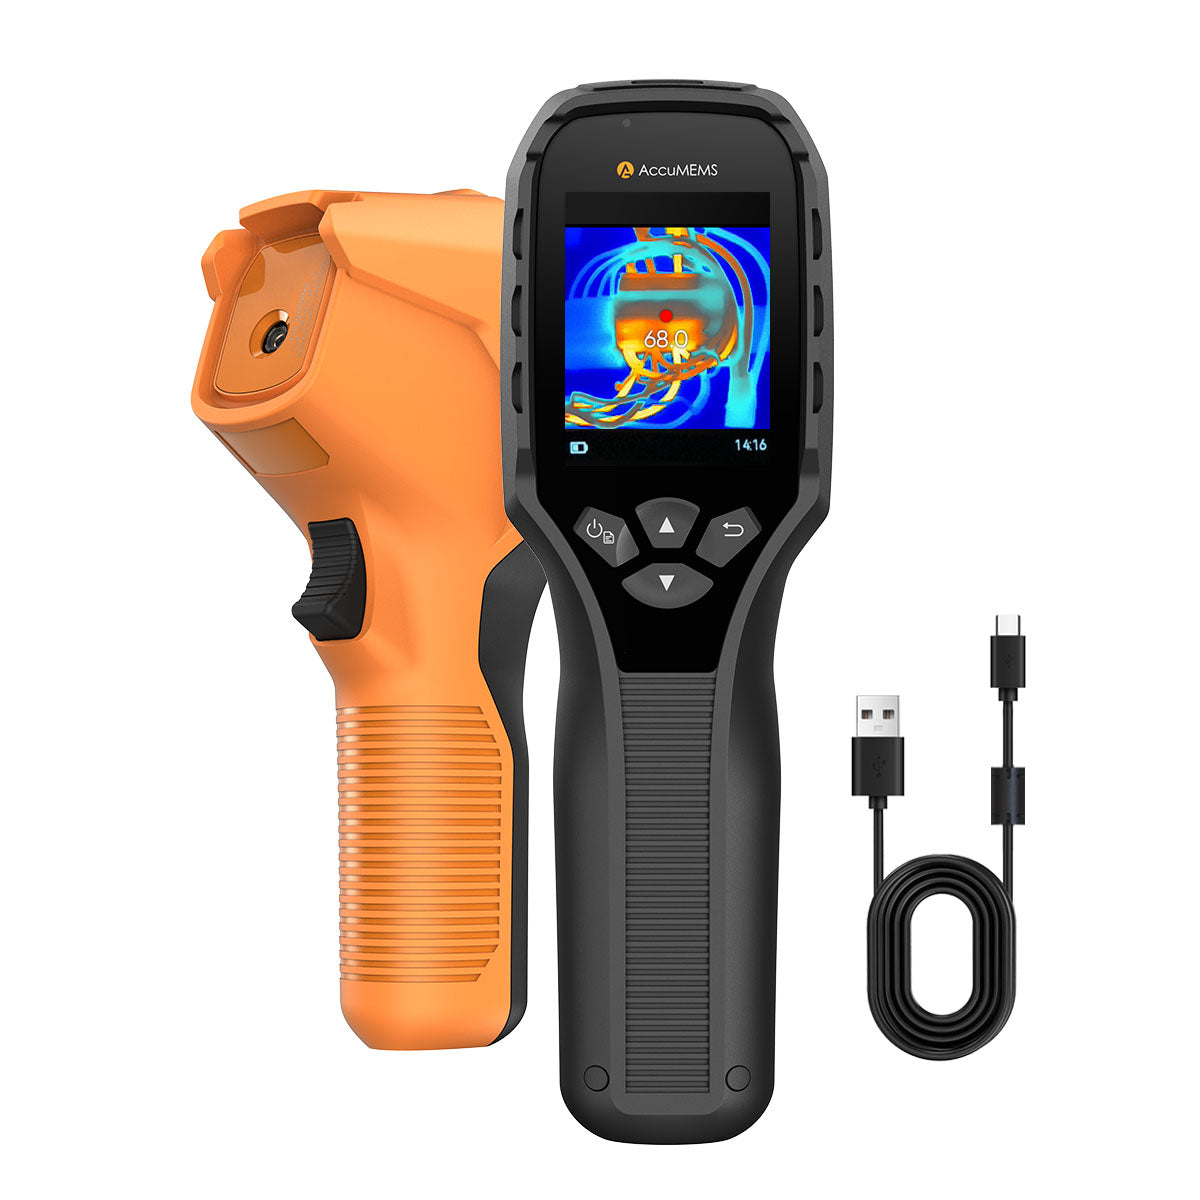


I. Power on preheating and equipment preparation
1.After turning on the device, wait a few minutes before measuring. The sensor needs time to stabilize.
2.In the first 5 minutes, the device will calibrate its image often. You may notice the screen briefly freezing and hear "click" sounds. This is normal.
3.When the "~" symbol disappears from the screen, the device is ready to measure accurately.
II. Proper Distance and Spot Ratio
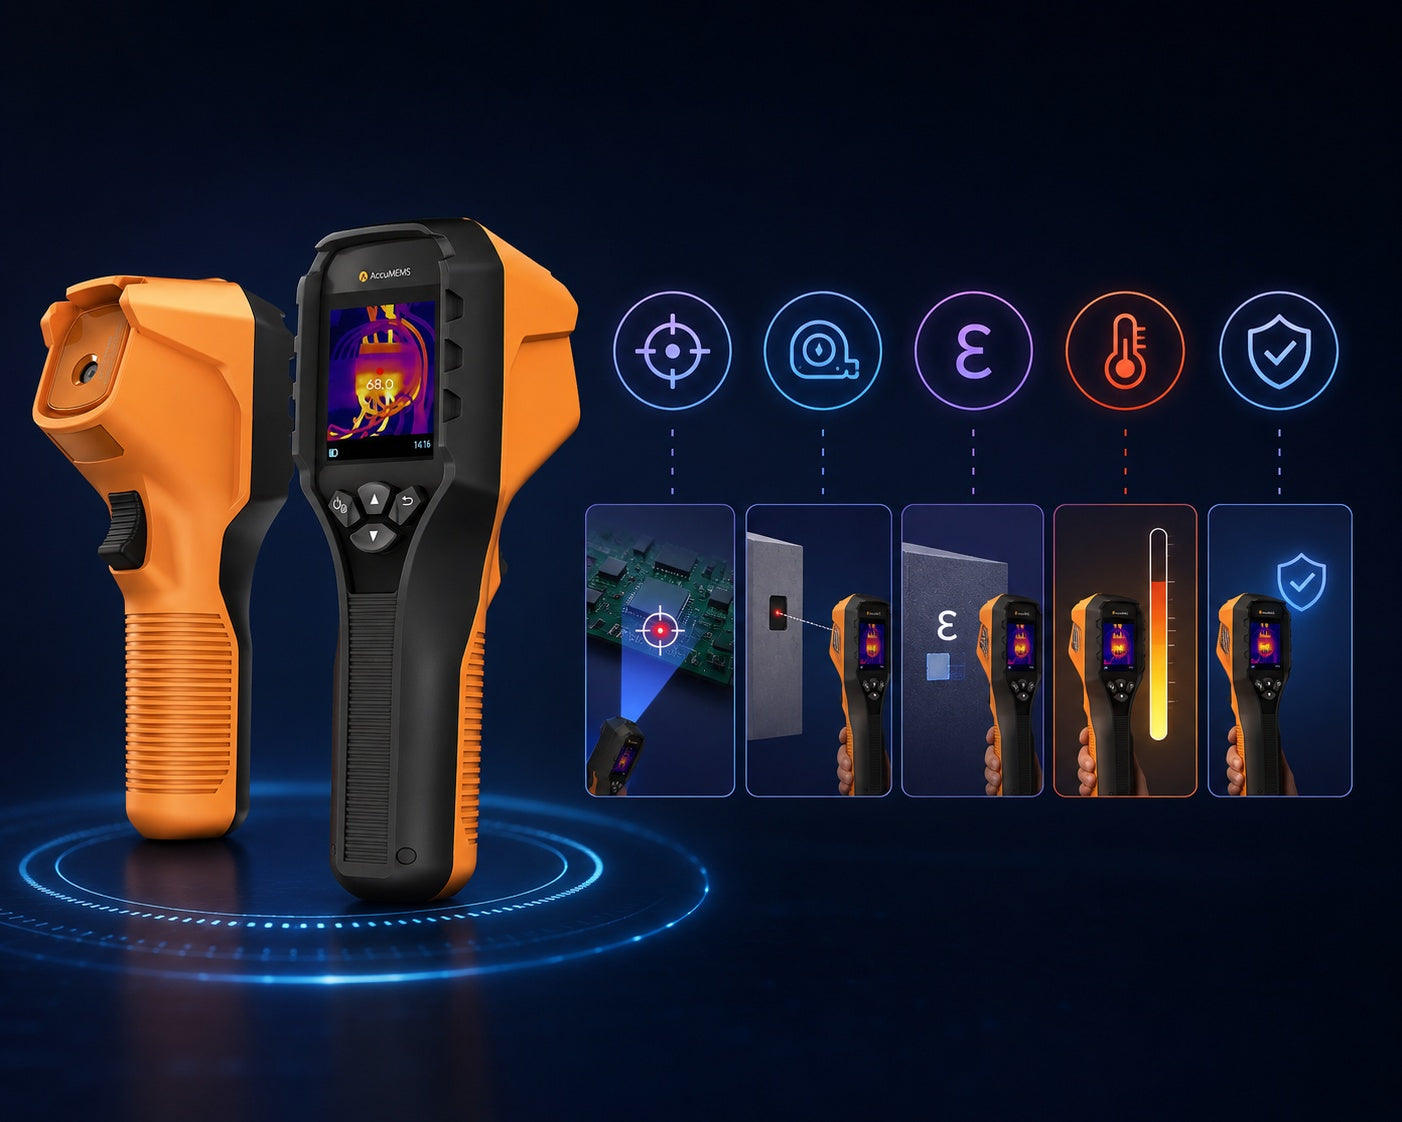
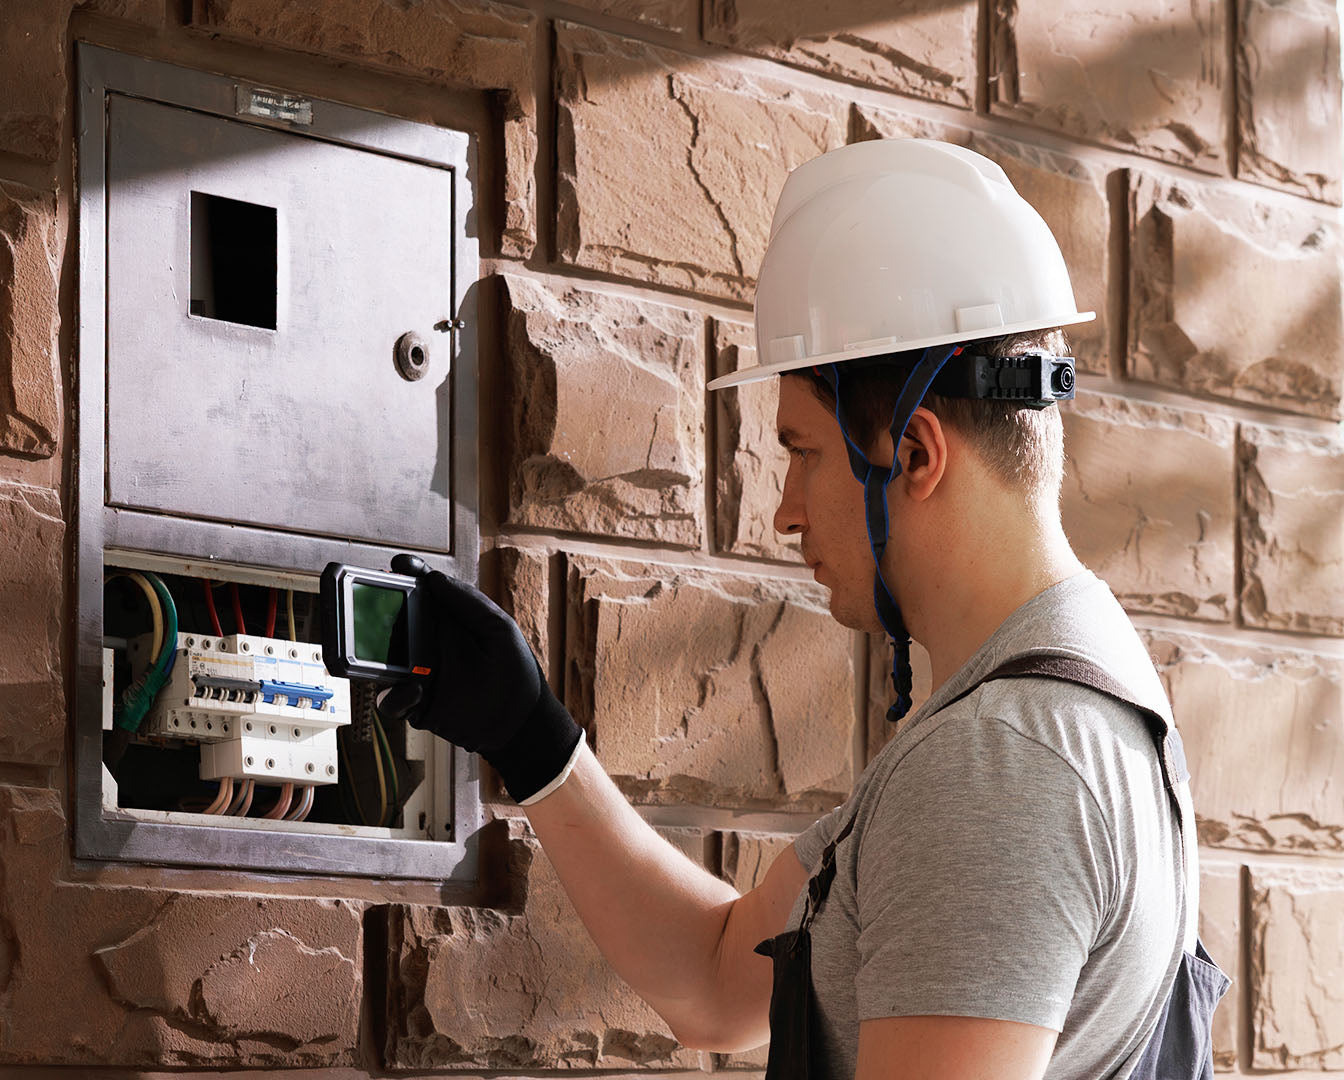
Proper distance and spot ratio are essential for achieving accurate measurements.
See the examples below:
| Target | Diameter target | Recommended Distance |
|---|---|---|
| Wire | 1 in (2.54 cm) diameter | approx. 1.88 ft (0.573 m) |
| Microwave/Oven | 3.2 ft × 1.6 ft (1 m × 0.5 m) | approx. 3.3 ft (1 m) |
| Door | 6 ft × 6 ft (1.8 m × 1.8 m) | 6.6 ft – 10 ft (2 – 4 m) |
Note:
For highly reflective surfaces such as glass or metal, choose a suitable viewing angle that avoids pointing the device directly at any reflected heat source. This helps reduce the effect of ambient temperature on your measurements.
III. Set the Distance in the Device
The shooting distance in the device should be set to match the actual shooting distance.
IV. Set the correct Emissivity
Different surfaces have different emissivity values. Setting the correct emissivity helps the device measuring temperature accurately. Check the table below for common materials:
| Material | Emissivity |
| PCB | 0.91 |
| Cement Concrete | 0.95 |
| Ceramics | 0.92 |
| Paint | 0.93 |
| Brick | 0.95 |
| Sand | 0.90 |
| Soil | 0.92 |
| Cloth | 0.98 |
| Paperboard | 0.90 |
If your target material is not in the table, you have two options:
1.Look up the emissivity for that material on your own.
2.If possible, stick a piece of 3M tape on the surface and set the emissivity to 0.95.
V. Check the Temperature Range
Make sure the temperature range matches what you are measuring. The device automatically switches to the right range by default, so no manual adjustment is usually needed.
Tip:
If the device still does not give accurate readings after following all the steps above, please contact our support team for help.


Leave a comment
This site is protected by hCaptcha and the hCaptcha Privacy Policy and Terms of Service apply.